
Kitchen cabinets are one of the most frequently used surfaces in any home. Every time you cook, tiny grease particles, dust, food splatters, fingerprints, and moisture settle on the cabinet doors and handles. Over time, this buildup creates a sticky layer that not only makes your kitchen look dirty but can also damage cabinet finishes if left untreated.
Learning how to clean kitchen cabinets properly helps preserve their appearance, extend their lifespan, and maintain a healthier cooking environment. Whether your cabinets are made of painted wood, laminate, MDF, or solid hardwood, using the correct cleaning methods prevents scratches, discoloration, and unnecessary wear.
In this comprehensive guide, you’ll discover professional cleaning techniques, natural cleaning solutions, expert maintenance tips, and common mistakes to avoid. Whether you’re performing weekly maintenance or a seasonal deep clean, this guide will help you keep your kitchen cabinets looking fresh and beautiful.
At truehousekeeping.com, we believe that smart cleaning techniques save time while protecting your home’s most valuable surfaces. This guide is based on practical cleaning methods that are easy to follow and safe for most cabinet materials.
Why Cleaning Kitchen Cabinets Matters
Many homeowners regularly clean countertops, sinks, and floors but forget about cleaning kitchen cabinets. Unfortunately, cabinets collect more grease than almost any other kitchen surface because warm cooking vapors naturally rise and settle on vertical surfaces.
Regular cabinet cleaning provides several important benefits:
- Removes grease buildup
- Eliminates bacteria and germs
- Prevents permanent stains
- Protects cabinet finishes
- Extends cabinet lifespan
- Improves indoor hygiene
- Keeps your kitchen looking brighter
- Prevents unpleasant cooking odors
Cleaning cabinets every few weeks is much easier than trying to remove months of hardened grease later.
What Causes Kitchen Cabinets to Get Dirty?
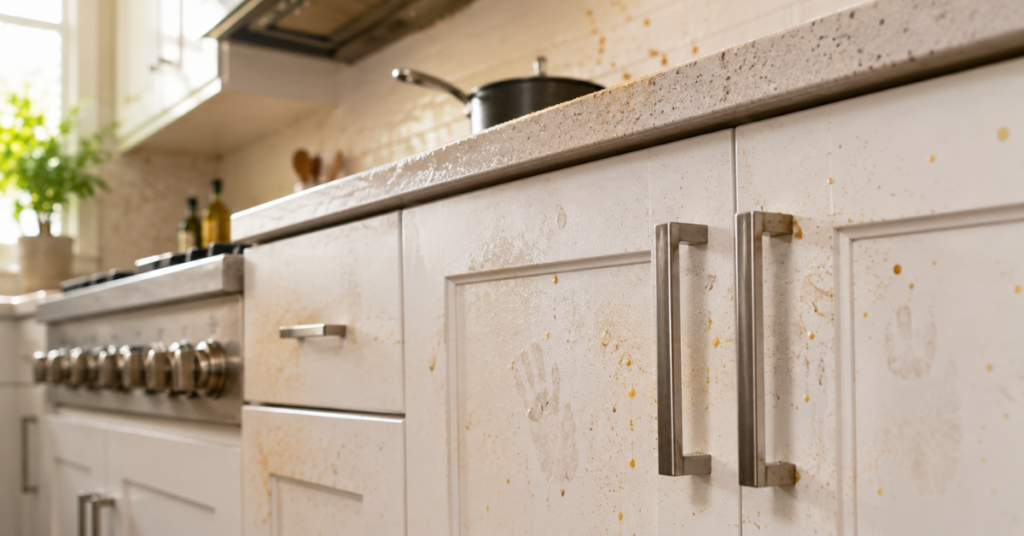
Understanding why cabinets become dirty helps you clean them more effectively.
The most common causes include:
Cooking Grease
Steam from frying, grilling, and sautéing carries tiny grease particles that stick to cabinet doors.
Dust
Kitchen dust mixes with grease, creating sticky grime that’s difficult to remove.
Fingerprints
Cabinet handles are touched dozens of times every day, leaving oils from your hands behind.
Food Splashes
Sauces, coffee, oil, soup, and spices often splash onto nearby cabinet doors.
Moisture
Steam from dishwashers, kettles, and cooking causes dirt to cling more easily.
Signs Your Kitchen Cabinets Need Cleaning
If you notice any of these signs, it’s time for a thorough cleaning.
- Sticky cabinet doors
- Greasy handles
- Visible fingerprints
- Dust buildup
- Food stains
- Yellow discoloration
- Unpleasant odors
- Dull cabinet finish
Even if cabinets appear clean, invisible grease may already be accumulating.
Cleaning Supplies You’ll Need
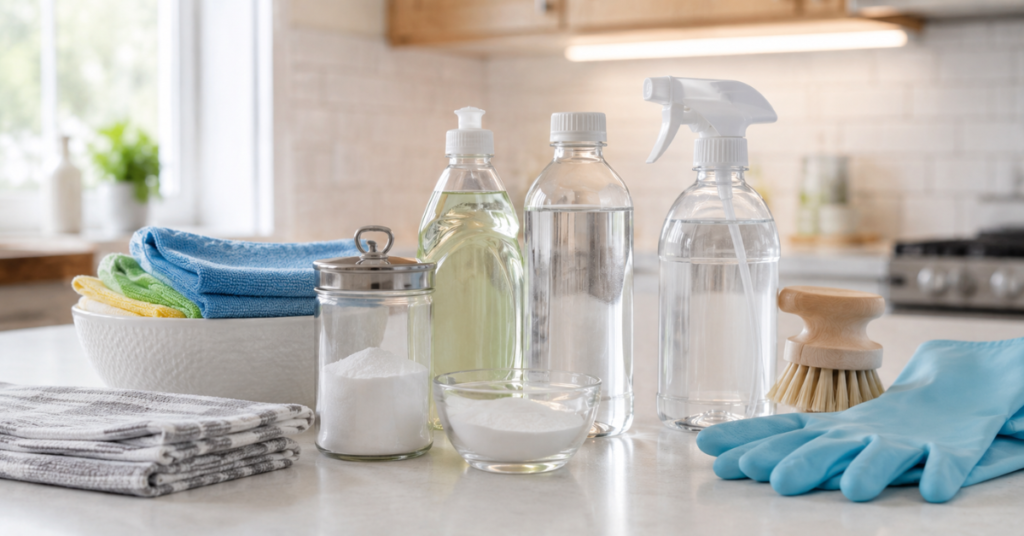
Gathering the right supplies before starting makes the process much easier.
Essential Supplies
- Microfiber cloths
- Soft sponge
- Warm water
- Mild dish soap
- White vinegar
- Spray bottle
- Soft-bristle toothbrush
- Dry towel
- Rubber gloves
- Small bucket
Optional Supplies
- Baking soda
- Wood cabinet cleaner
- Cabinet polish
- Magic eraser (use carefully)
- Degreasing cleaner
Avoid steel wool, abrasive scrubbers, or harsh chemicals unless recommended by the cabinet manufacturer.
How to Prepare Before Cleaning Kitchen Cabinets
Preparation saves time and prevents accidental damage.
Before cleaning:
- Remove dishes and food items from cabinets.
- Cover nearby appliances if using spray cleaners.
- Test every cleaning solution on a hidden area.
- Open windows for ventilation.
- Wear gloves if using commercial cleaners.
- Keep a dry microfiber cloth nearby.
Professional cleaners always prepare first before starting the actual cleaning process.
Step-by-Step Guide: How to Clean Kitchen Cabinets
Follow these steps for the best results.
Step 1: Empty the Cabinets
Take everything out of the cabinets, especially if you’re doing a deep clean.
This allows you to:
- Clean every corner
- Remove crumbs
- Check for moisture damage
- Inspect shelves
Place dishes on a clean countertop while cleaning.
Step 2: Remove Dust and Loose Dirt
Before using water, remove loose dust first.
Use:
- Microfiber cloth
- Dry duster
- Vacuum with brush attachment
Cleaning dry dust first prevents mud-like residue from forming when moisture is added.
Pay extra attention to:
- Top edges
- Cabinet corners
- Decorative trim
- Hinges
Step 3: Prepare a Safe Cleaning Solution
One of the safest homemade cleaners is:
Dish Soap Solution
Mix:
- 2 cups warm water
- A few drops of mild dish soap
This solution safely removes everyday grease from most cabinet finishes.
Vinegar Solution
Mix:
- 1 cup white vinegar
- 1 cup warm water
This works well for light grease and fingerprints but should not be overused on natural wood.
Never soak wooden cabinets with excessive water.
Step 4: Wipe Cabinet Doors and Frames
Dip a microfiber cloth into the cleaning solution.
Wring it out well.
The cloth should be damp, not dripping wet.
Wipe:
- Top to bottom
- Left to right
- Along the wood grain
Clean one section at a time.
For textured cabinets, gently scrub using a soft toothbrush.
Immediately dry the surface with another microfiber cloth.
Drying prevents water spots and protects cabinet finishes.
Step 5: Clean Cabinet Handles and Knobs
Handles collect the most bacteria because they’re touched constantly.
Spray cleaner onto a cloth, not directly onto hardware.
Use a toothbrush to clean around:
- Screws
- Decorative grooves
- Corners
Dry every handle after cleaning.
If the hardware is removable, you can soak it in warm soapy water for several minutes before wiping it dry.
Step 6: Clean Inside the Cabinets
After cleaning the exterior, move inside.
Use a damp microfiber cloth to wipe:
- Shelves
- Interior walls
- Corners
- Door frames
Remove:
- Food crumbs
- Dust
- Spilled spices
- Sticky residue
Dry everything thoroughly before replacing dishes.
Moisture trapped inside cabinets can encourage mold growth.
Step 7: Remove Sticky Grease and Stains
Older grease may require extra effort.
Create a paste using:
- Baking soda
- A small amount of water
Apply the paste to greasy areas.
Allow it to sit for five minutes.
Gently scrub using a soft sponge.
Wipe clean with a damp cloth.
Dry immediately.
Avoid scrubbing aggressively because baking soda can become slightly abrasive.
Common Cleaning Mistakes to Avoid
Many homeowners accidentally damage cabinets while trying to clean them.
Avoid these mistakes:
- Using bleach on finished wood
- Scrubbing with steel wool
- Using excessive water
- Ignoring cabinet tops
- Letting cleaner sit too long
- Using furniture polish on painted cabinets
- Skipping the drying step
- Mixing vinegar with bleach or other chemicals
Gentle cleaning performed regularly is far more effective than aggressive deep cleaning once or twice a year.
Deep Cleaning Kitchen Cabinets Like a Professional
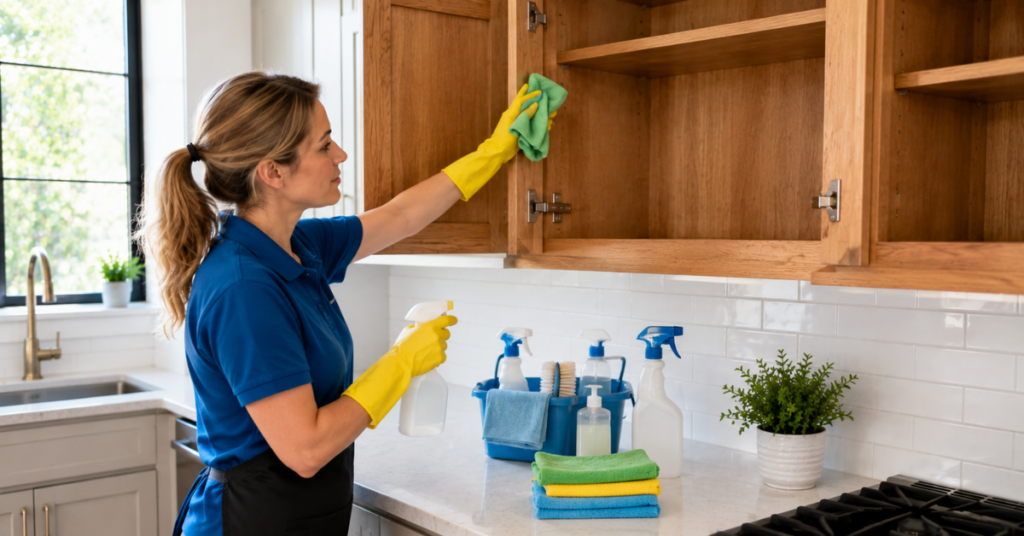
Routine wiping keeps cabinets looking clean, but deep cleaning removes stubborn grease, hidden dirt, and long-term buildup that regular maintenance cannot eliminate. Professional cleaners recommend deep cleaning kitchen cabinets every three to six months, depending on how often you cook.
If you fry food regularly or have an open-concept kitchen, grease will build up more quickly, making deep cleaning even more important.
How to Deep Clean Kitchen Cabinets
Deep cleaning requires a little more time, but the results are worth the effort.
Step 1: Remove Everything
Empty each cabinet.
Inspect for:
- Food crumbs
- Water damage
- Expired food
- Sticky shelf liners
- Pest signs
This is also a great opportunity to organize your kitchen.
Step 2: Vacuum Dust and Debris
Use a vacuum with a soft brush attachment.
Vacuum:
- Corners
- Shelf edges
- Hinges
- Drawer tracks
Removing dust before washing prevents dirty streaks.
Step 3: Wash Every Surface
Using your mild cleaning solution, wipe:
- Cabinet doors
- Frames
- Shelves
- Drawer interiors
- Cabinet sides
Always work from the top downward.
Step 4: Remove Tough Grease
Kitchen grease becomes sticky over time.
For stubborn buildup:
Mix:
- 2 tablespoons baking soda
- A small amount of warm water
Create a thick paste.
Apply only to greasy spots.
Leave for 5–10 minutes.
Gently scrub using a microfiber cloth.
Never use excessive force.
Step 5: Dry Completely
This step is often overlooked.
Moisture left behind can cause:
- Swelling
- Peeling paint
- Mold
- Wood warping
Always dry every cabinet with a clean microfiber towel.
How to Clean Wooden Kitchen Cabinets
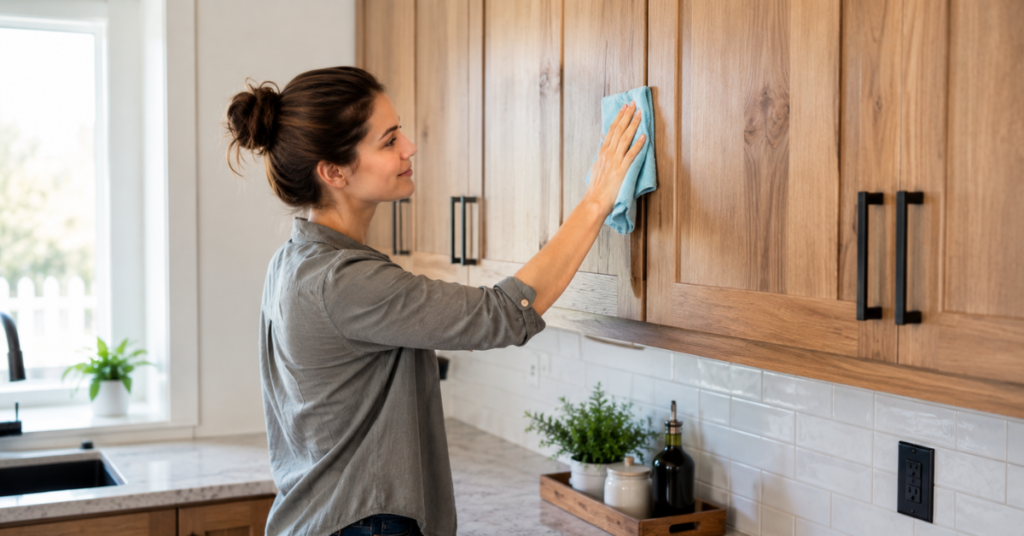
Wood cabinets require extra care because natural wood is sensitive to moisture.
Safe Cleaning Method
You’ll need:
- Warm water
- Mild dish soap
- Microfiber cloth
Wipe along the wood grain.
Immediately dry using another cloth.
Never allow water to sit on wooden surfaces.
Best Practices
✔ Clean gently
✔ Dry immediately
✔ Use wood-safe polish occasionally
✔ Avoid excessive moisture
✔ Test new products first
Avoid
- Bleach
- Ammonia
- Steel wool
- Abrasive pads
- Steam cleaners
These can permanently damage wood finishes.
How to Clean Painted Kitchen Cabinets
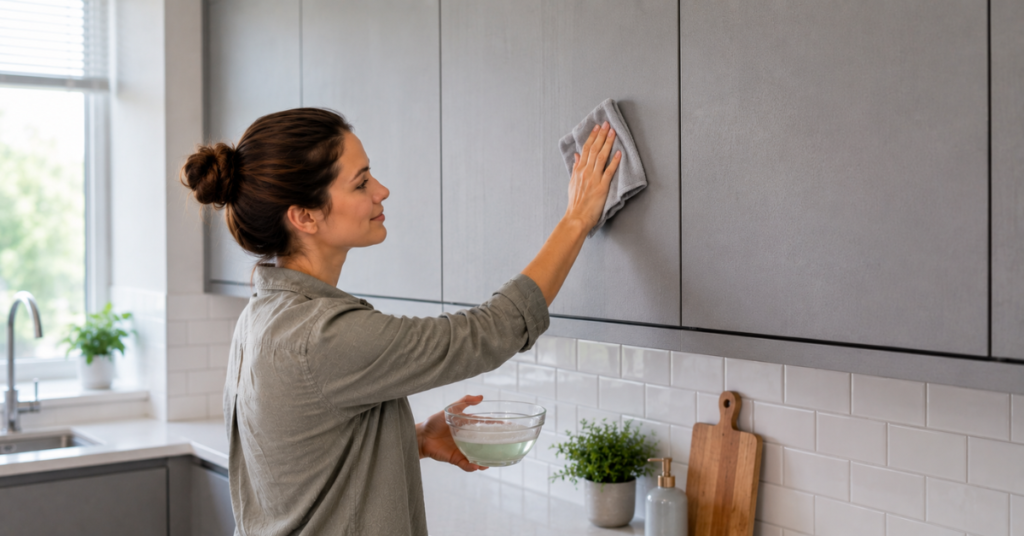
Painted cabinets are popular because they brighten the kitchen, but scratches are easier to notice.
Use:
- Mild soap
- Warm water
- Soft microfiber cloth
Avoid scrubbing aggressively.
For fingerprints:
A damp microfiber cloth is usually enough.
Dry immediately after cleaning.
How to Clean Laminate Kitchen Cabinets
Laminate is one of the easiest cabinet materials to maintain.
For daily cleaning:
Mix:
- Warm water
- Mild dish soap
Wipe gently.
Dry with a microfiber cloth.
Avoid using sharp tools that may scratch the laminate.
How to Clean White Kitchen Cabinets
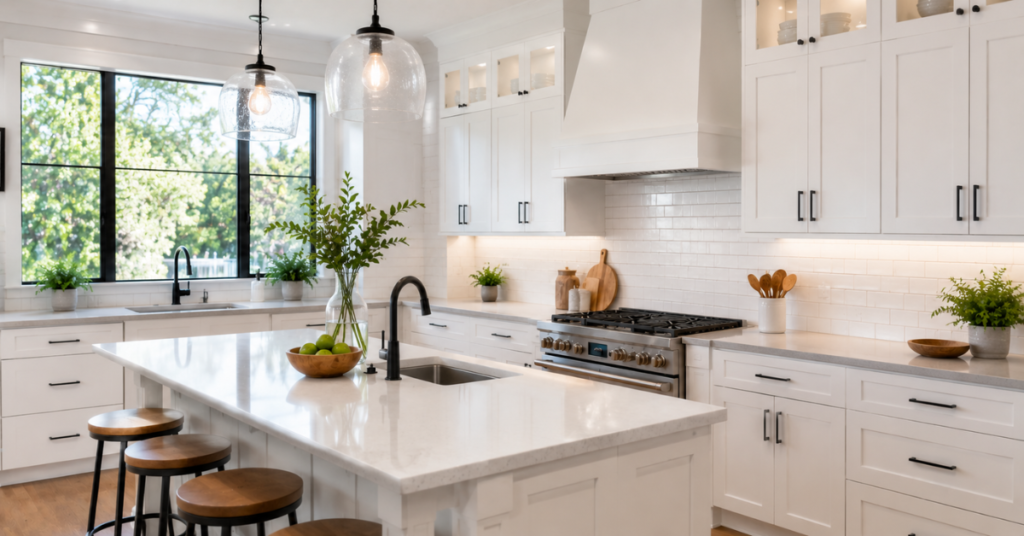
White cabinets show dirt faster than darker colors.
Common stains include:
- Coffee
- Tomato sauce
- Grease
- Fingerprints
- Dust
Clean weekly to prevent discoloration.
For stubborn stains:
Use baking soda paste carefully.
Rinse immediately.
Dry completely.
How to Remove Grease from Kitchen Cabinets
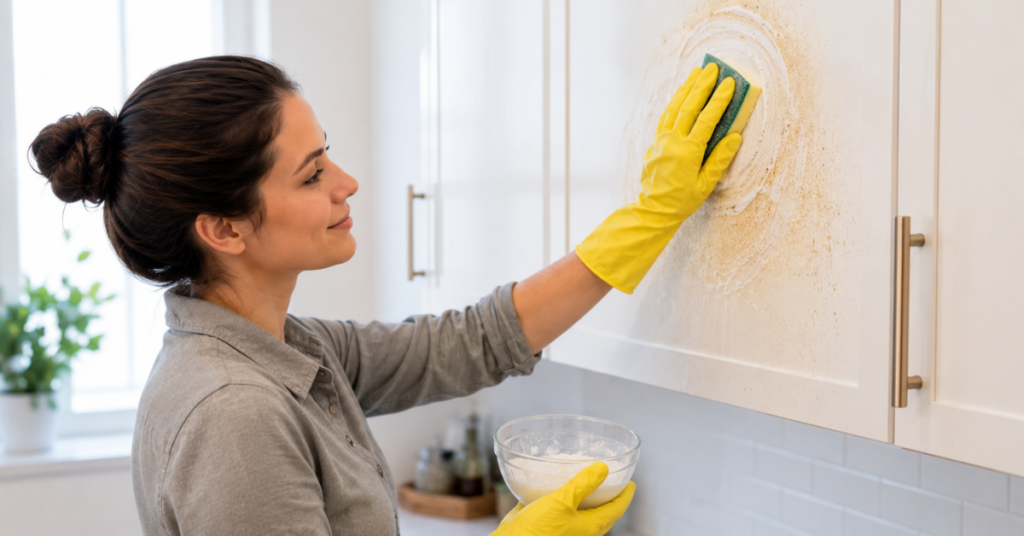
Grease is the biggest challenge for most homeowners.
Fortunately, there are several effective methods.
Method 1: Dish Soap
Dish soap is designed to break down grease.
Mix:
- Warm water
- A few drops of dish soap
Wipe using a microfiber cloth.
Dry afterward.
Method 2: White Vinegar
White vinegar cuts through light grease naturally.
Mix equal parts:
- White vinegar
- Warm water
Spray onto a cloth.
Never spray directly onto wooden cabinets.
Method 3: Baking Soda
Perfect for stubborn grease.
Make a paste.
Apply carefully.
Wait five minutes.
Wipe clean.
Method 4: Commercial Degreaser
Heavy grease sometimes requires specialized cabinet cleaners.
Always:
- Read the label
- Follow manufacturer instructions
- Test in an inconspicuous area first
Natural vs Commercial Cabinet Cleaners
Both options work well when used correctly.
| Natural Cleaners | Commercial Cleaners |
| Eco-friendly | Stronger grease removal |
| Affordable | Faster cleaning |
| Safe for regular use | Designed for heavy buildup |
| Fewer harsh chemicals | May contain stronger ingredients |
| Easy to prepare at home | Convenient ready-to-use formulas |
Choose the option that matches your cabinet material and cleaning needs.
How Often Should You Clean Kitchen Cabinets?
Consistency keeps cabinets looking new.
Daily
- Wipe fresh spills
- Remove fingerprints
- Clean visible grease
Weekly
- Wipe cabinet doors
- Clean handles
- Remove dust
Monthly
- Clean inside frequently used cabinets
- Inspect hinges
- Remove sticky spots
Every 3–6 Months
Perform a complete deep cleaning.
How to Prevent Grease Buildup
Preventing grease is easier than removing it.
Follow these simple habits:
- Turn on the range hood while cooking.
- Wipe spills immediately.
- Clean cabinet doors weekly.
- Wash greasy hands before opening cabinets.
- Keep cooking oil splatters under control.
- Clean above the stove more frequently.
Small habits reduce future cleaning time.
Professional Tips for Long-Lasting Kitchen Cabinets
Professional cleaners recommend these maintenance tips:
- Always use microfiber cloths.
- Avoid soaking cabinets.
- Dry surfaces immediately.
- Clean from top to bottom.
- Use gentle pressure.
- Test new cleaning products first.
- Avoid abrasive cleaners.
- Polish wood cabinets only when recommended.
These simple practices help preserve your cabinets for years.
Common Problems and Their Solutions
Sticky Cabinet Doors
Cause:
Grease buildup.
Solution:
Clean using warm water and dish soap.
Water Marks
Cause:
Standing moisture.
Solution:
Dry cabinets immediately after cleaning.
Dull Finish
Cause:
Grease residue.
Solution:
Deep clean and apply a wood-safe conditioner if appropriate for the finish.
Bad Odors Inside Cabinets
Cause:
Food spills.
Solution:
Empty cabinets completely.
Clean shelves thoroughly.
Allow to air dry before replacing items.
Yellow Stains
Cause:
Cooking grease combined with dust.
Solution:
Regular cleaning prevents permanent discoloration.
Kitchen Cabinet Maintenance Checklist
Use this simple checklist to keep your cabinets in excellent condition:
- ✔ Wipe cabinet doors every week
- ✔ Clean handles twice a week
- ✔ Remove grease immediately after cooking
- ✔ Dry cabinets after every cleaning
- ✔ Deep clean every three to six months
- ✔ Inspect hinges and screws regularly
- ✔ Organize cabinet interiors monthly
- ✔ Check for moisture or mold
Following this routine will reduce cleaning time and extend the life of your cabinets.
Final Thoughts
Keeping your kitchen cabinets clean does more than improve the appearance of your kitchen; it also protects your investment and creates a healthier cooking environment. Grease, dust, and moisture can gradually damage cabinet finishes if they are not removed regularly. Fortunately, with the right cleaning routine and gentle products, maintaining beautiful cabinets is simple.
By following the steps in this guide, you can safely clean wood, laminate, painted, and MDF cabinets without causing unnecessary wear. Consistent maintenance, quick cleanup of spills, and occasional deep cleaning will help your cabinets stay in excellent condition for years.
At YourWebsiteName, our goal is to provide practical, easy-to-follow cleaning guides that make home maintenance less stressful. Whether you’re tackling a full kitchen deep clean or simply refreshing your cabinets, using the right techniques will save time and protect your home’s surfaces.
If you found this guide helpful, explore our other cleaning resources to keep every room in your home looking its best
FAQs
1. What is the best way to clean kitchen cabinets?
The best way to clean kitchen cabinets is by using a microfiber cloth, warm water, and a few drops of mild dish soap. Wipe the cabinets gently, remove grease and dirt, then dry the surface immediately with a clean cloth to prevent moisture damage.
2. How often should I clean kitchen cabinets?
For the best results:
- Wipe spills immediately.
- Clean cabinet doors and handles weekly.
- Clean the interior monthly.
- Perform a deep cleaning every 3–6 months.
Homes where cooking is frequent may require more regular cleaning.
3. Can I use vinegar to clean kitchen cabinets?
Yes. White vinegar mixed with warm water is effective for removing light grease and fingerprints. However, avoid frequent use on unfinished or natural wood cabinets because acidic cleaners may affect the finish over time.
4. Is dish soap safe for kitchen cabinets?
Yes. Mild dish soap is one of the safest cleaning products for most cabinet materials, including painted, laminate, and sealed wood cabinets.
5. Can baking soda damage kitchen cabinets?
Baking soda is generally safe when used carefully. Since it is mildly abrasive, avoid scrubbing aggressively and always rinse the area afterward.
6. How do I remove sticky grease from kitchen cabinets?
Mix baking soda with a small amount of water to form a paste. Apply it to the greasy area, let it sit for 5–10 minutes, gently wipe with a soft cloth, and dry immediately.
7. What cleaners should I avoid?
Avoid using:
- Bleach
- Ammonia
- Steel wool
- Abrasive scrub pads
- Harsh chemical solvents
- Steam cleaners (unless approved by the cabinet manufacturer)
These products may damage cabinet finishes.
8. Can I use a Magic Eraser?
A Magic Eraser can remove stubborn marks, but it should be used cautiously. Test it in an inconspicuous area first, as it may dull or scratch delicate finishes.
9. How do I make white kitchen cabinets look new again?
Clean them regularly using warm water, mild dish soap, and a microfiber cloth. For stubborn stains, use a baking soda paste sparingly and dry the cabinets thoroughly after cleaning.
10. Why do kitchen cabinets become sticky?
Sticky cabinets are usually caused by grease particles from cooking mixing with dust and moisture. Regular cleaning helps prevent this buildup.
11. Can I clean kitchen cabinets with only water?
Warm water removes light dust, but it is usually not enough to remove grease. Adding a few drops of mild dish soap makes cleaning much more effective.
12. Should I polish wooden cabinets?
Only use a wood-safe polish if recommended by the cabinet manufacturer. Over-polishing may leave residue that attracts dust.
13. Is it safe to spray cleaner directly onto cabinets?
No. Spray the cleaner onto a microfiber cloth instead of directly onto the cabinet to prevent excess moisture from seeping into joints and edges.
14. How can I prevent grease from building up?
- Use your kitchen exhaust fan while cooking.
- Wipe cabinets weekly.
- Clean spills immediately.
- Wash greasy hands before opening cabinet doors.
15. How long does it take to clean kitchen cabinets?
A standard kitchen usually takes:
- Light cleaning: 20–30 minutes
- Deep cleaning: 1–2 hours, depending on the size and condition of the cabinets.