
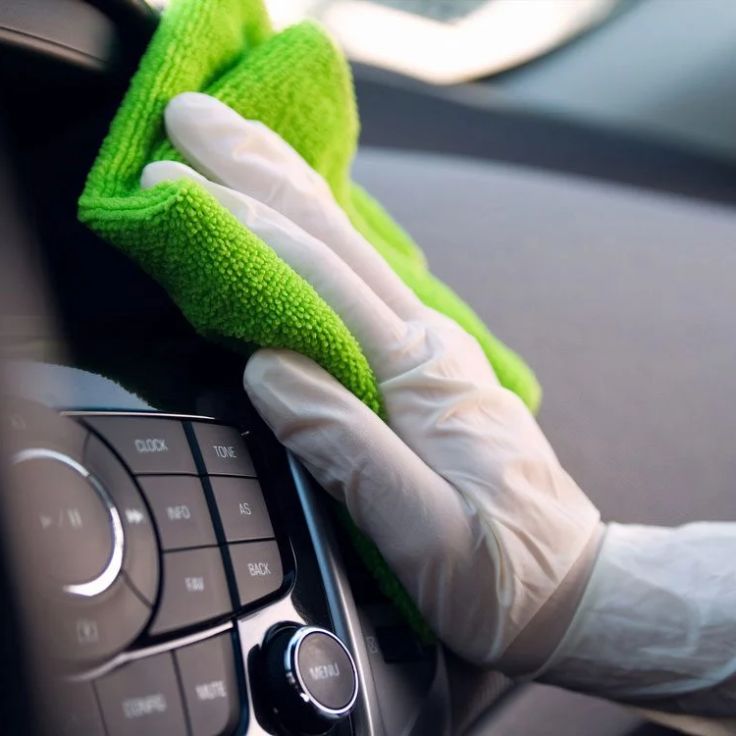
Your car may look clean from the outside, but the interior can tell a completely different story. Dust settles on the dashboard, crumbs disappear between the seats, fingerprints cover the windows, and dirt slowly builds up in floor mats and carpets. Add spilled drinks, pet hair, food odors, and everyday clutter, and even a well-maintained car can start to feel messy and unpleasant.
The good news is that you do not need expensive professional detailing services every time your car needs a serious refresh. With the right supplies, a little organization, and a systematic approach, you can deep clean your car interior at home and make it look, feel, and smell dramatically better.
A proper deep clean is more than simply vacuuming the floor and wiping the dashboard. It means working from top to bottom, cleaning overlooked areas, treating upholstery appropriately, removing odors, and paying attention to the small details that make a car feel truly fresh.
Whether you are preparing your vehicle for a road trip, getting ready to sell it, recovering from a messy family journey, or simply want your daily drive to feel cleaner, this complete guide will show you how to deep clean your car interior step by step.
Why Deep Cleaning Your Car Interior Matters
Your car interior is a small enclosed environment that you use regularly. Dust, dirt, skin oils, food particles, moisture, and other debris can accumulate surprisingly quickly.
Regular cleaning helps maintain the appearance of the interior, but deep cleaning goes a step further.
A thorough interior cleaning can help:
- Remove accumulated dust and dirt
- Reduce unpleasant odors
- Lift stains from upholstery and carpets
- Remove crumbs and hidden debris
- Keep dashboard surfaces looking fresh
- Reduce visible grime around controls
- Make windows clearer
- Improve the overall driving experience
- Protect interior materials from unnecessary buildup
- Make an older vehicle feel noticeably fresher
If you are planning to sell your car, a clean interior can also make a much better first impression on potential buyers.
The key is to avoid rushing. Instead of randomly wiping whatever you notice first, clean the interior in a logical order.
How Often Should You Deep Clean Your Car Interior?
How often you need a deep clean depends on how frequently you drive and how your car is used.
A vehicle used every day for commuting may benefit from a deeper interior cleaning every few months. Families with children, people who eat inside their cars, pet owners, and drivers who frequently travel on dusty roads may need to deep clean more often.
A simple maintenance routine can make those deep cleans much easier.
Daily or Every Few Days
Spend a couple of minutes removing:
- Trash
- Food wrappers
- Empty bottles
- Receipts
- Loose items
- Visible crumbs
Weekly
Try to:
- Shake out floor mats
- Wipe obvious fingerprints
- Dust the dashboard
- Vacuum high-traffic areas
- Clean visible spills
Every Few Months
Perform a more thorough deep clean that includes:
- Seats
- Carpets
- Floor mats
- Door panels
- Dashboard
- Center console
- Cup holders
- Vents
- Windows
- Hard-to-reach areas
- Odor control
Keeping up with small jobs means you will not have to battle months of accumulated dirt at once.
What You Need to Deep Clean Your Car Interior
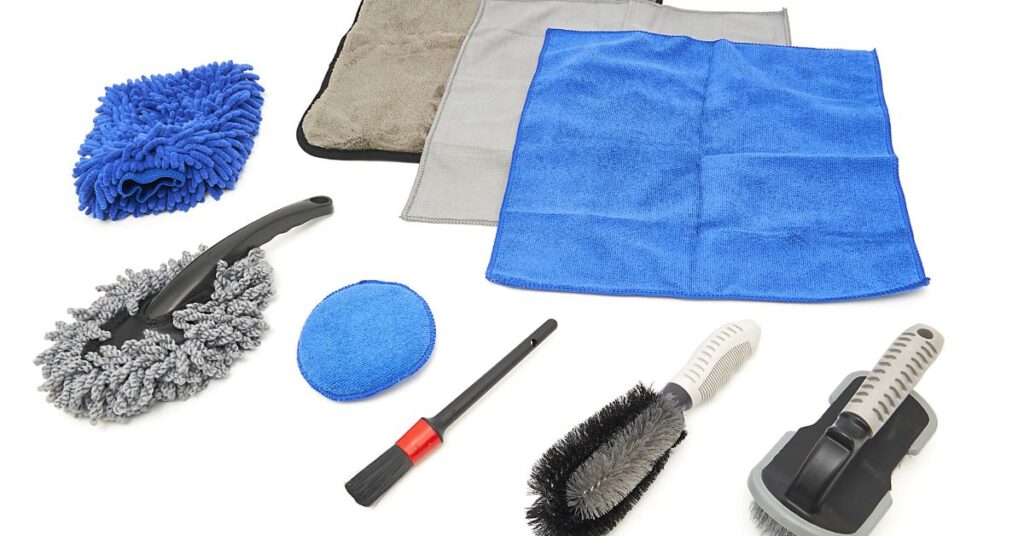
You do not need an enormous collection of detailing products.
Gather your supplies before starting so you can work efficiently.
Basic Supplies
You may need:
- Vacuum cleaner with attachments
- Microfiber cloths
- Soft detailing brushes
- Soft toothbrush or small cleaning brush
- Interior-safe cleaner
- Glass cleaner
- Bucket of clean water
- Spray bottle
- Soft sponge
- Carpet or upholstery cleaner
- Leather-safe cleaner if applicable
- Leather conditioner if appropriate
- Paper towels for certain tasks
- Cotton swabs
- Small trash bags
- Rubber gloves
A crevice attachment for your vacuum is particularly useful for cleaning the narrow spaces around seats and the center console.
Important Cleaning Rule
Always check the manufacturer’s recommendations for your specific interior materials.
Leather, synthetic leather, fabric, plastic, vinyl, wood-look trim, and touchscreen surfaces can require different care.
Do not automatically use a household cleaner on every surface.
Step 1: Remove Everything From the Car
Before cleaning anything, empty the interior.
Remove:
- Trash
- Bottles
- Shopping bags
- Toys
- Clothing
- Shoes
- Paperwork
- Chargers
- Food containers
- Personal belongings
- Objects stored under the seats
Do not forget the trunk if you are giving the entire vehicle a complete interior reset.
Place everything into categories rather than simply moving clutter from one part of the car to another.
Create separate piles for:
Trash: Throw it away.
Keep in the car: Return only useful items.
Take inside: Remove everything that belongs in your home.
Store elsewhere: Put items where they actually belong.
This first step makes every cleaning task easier.
Step 2: Remove the Floor Mats
Take all removable floor mats outside the vehicle.
Shake them thoroughly to remove loose dirt and debris.
If they are rubber mats, rinse them according to the manufacturer’s recommendations and scrub them with an appropriate cleaner.
For fabric mats, vacuum them thoroughly before using any liquid cleaner.
Allow washed mats to dry completely before putting them back.
Never place wet mats into the car. Moisture trapped underneath can contribute to unpleasant odors and may encourage mold or mildew growth.
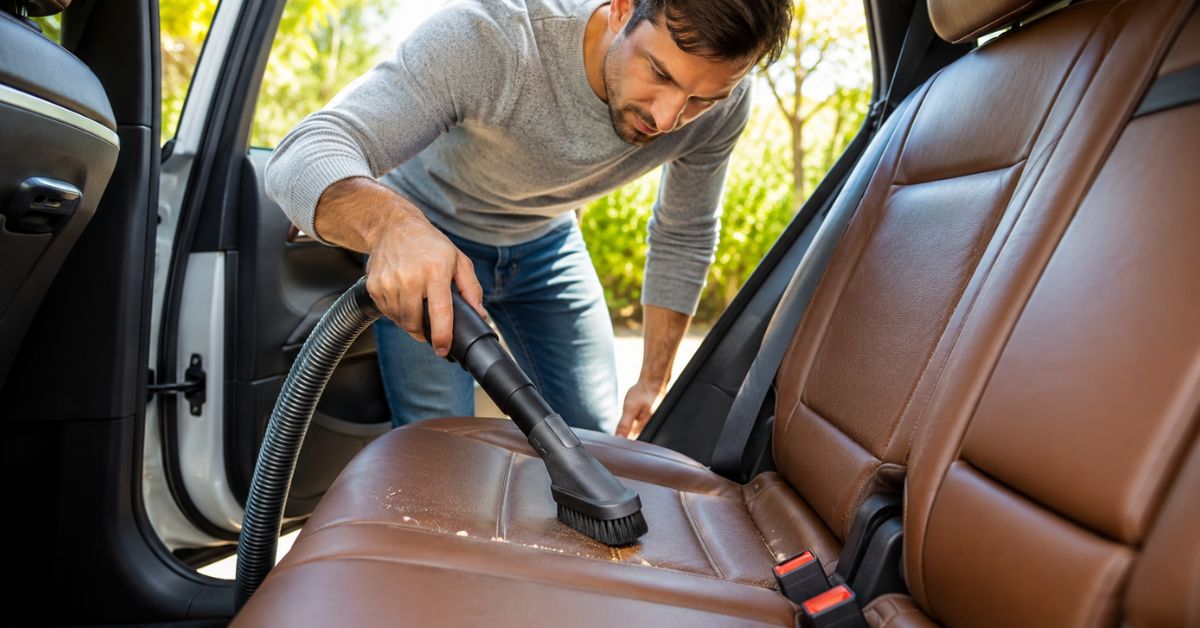
Step 3: Vacuum the Entire Interior
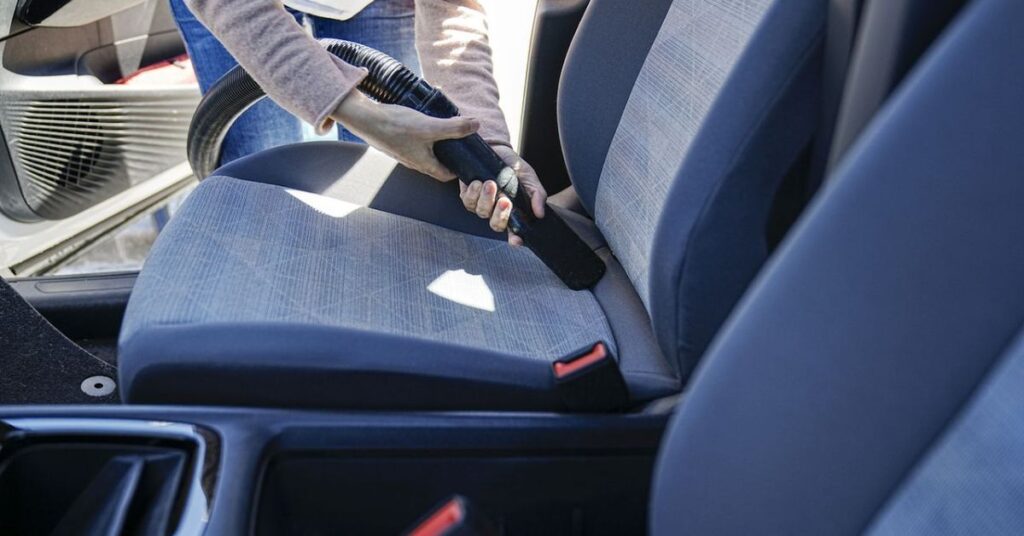
Vacuuming should happen before wet cleaning.
Start from the highest areas and work downward so dust and debris that fall onto lower surfaces can be removed later.
Vacuum:
- Seats
- Seat seams
- Floor
- Carpets
- Floor mat areas
- Under the seats
- Between seats
- Center console edges
- Door pockets
- Trunk
- Cargo area
Use a narrow attachment for tight spaces.
Don’t Forget Under the Seats
One of the dirtiest areas in many vehicles is also one of the easiest to ignore.
Slide the seats forward and backward as far as safely possible to expose hidden areas.
Look for:
- Crumbs
- Coins
- Dirt
- Hair
- Receipts
- Small toys
- Dust
Vacuum carefully around seat rails without damaging electrical components or wiring.
Step 4: Clean the Dashboard
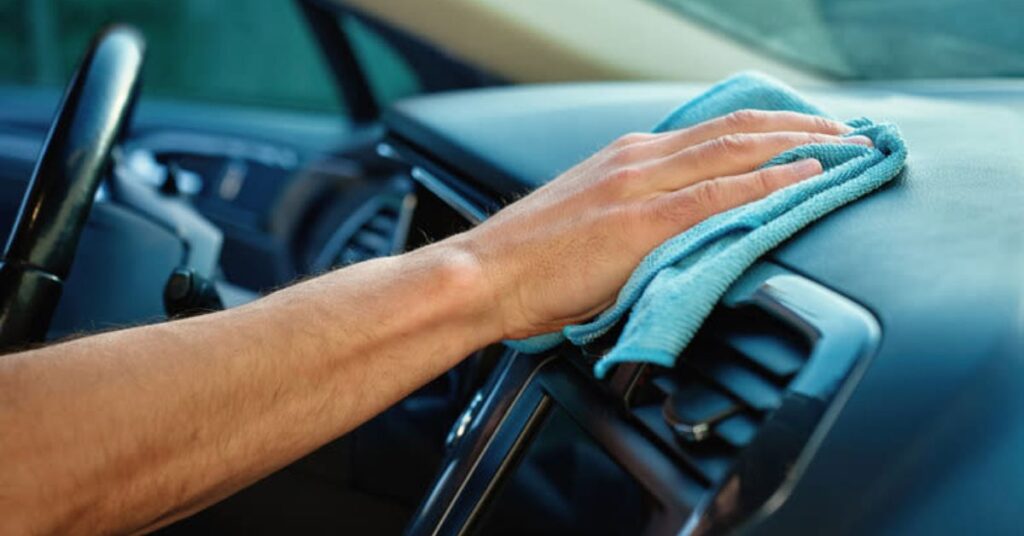
The dashboard collects dust quickly because it is exposed to sunlight and airflow.
Start by removing loose dust with a microfiber cloth or soft brush.
Then use a cleaner specifically suitable for the dashboard material.
Work in small sections.
Pay particular attention to:
- Instrument panel
- Dashboard edges
- Air vents
- Buttons
- Steering column
- Display surrounds
- Storage compartments
Avoid soaking electronic controls.
A lightly damp microfiber cloth is often safer around delicate areas than spraying cleaner directly onto the surface.
Avoid Excessively Shiny Dashboard Products
A very glossy dashboard may look attractive in photographs, but excessive shine can create glare on the windshield.
It can also make the surface feel greasy and attract dust.
A clean, natural-looking finish is usually preferable.
Step 5: Clean the Air Vents
Air vents collect dust that can later circulate throughout the cabin.
Use a soft detailing brush to loosen dust from the vent slats.
Hold a vacuum nozzle nearby while brushing so loosened debris can be captured instead of simply falling deeper into the dashboard.
For narrow areas, cotton swabs or small soft brushes can help.
Do not force objects deep inside the vents.
If your vehicle’s ventilation system has a replaceable cabin air filter, check the owner’s manual for its recommended inspection or replacement schedule.
Step 6: Deep Clean the Steering Wheel
The steering wheel is one of the most frequently touched surfaces inside a vehicle.
Hands transfer oils, dirt, lotion, and other residues onto it every time you drive.
Clean it according to its material.
For leather or synthetic leather, use an appropriate cleaner rather than an aggressive household product.
For plastic surfaces, use an interior-safe cleaner and a microfiber cloth.
Clean around:
- Spokes
- Buttons
- Seams
- Lower steering wheel
- Behind the wheel where accessible
Finish with a dry microfiber cloth.
A clean steering wheel can make the entire interior feel fresher.
Step 7: Clean the Center Console
The center console is another area where dust and debris accumulate.
Remove everything from the storage compartments.
Vacuum loose debris first.
Then wipe the surfaces with an appropriate cleaner.
Pay attention to:
- Cup holders
- Gear selector area
- Storage compartments
- Buttons
- Charging ports
- Console edges
- Armrest
- Small gaps
Cup holders can be especially dirty because they collect spilled drinks, crumbs, dust, and sticky residue.
Use a small detailing brush to reach corners.
Avoid allowing excess liquid to enter electronic components, USB ports, charging areas, or switches.
Step 8: Clean the Car Seats
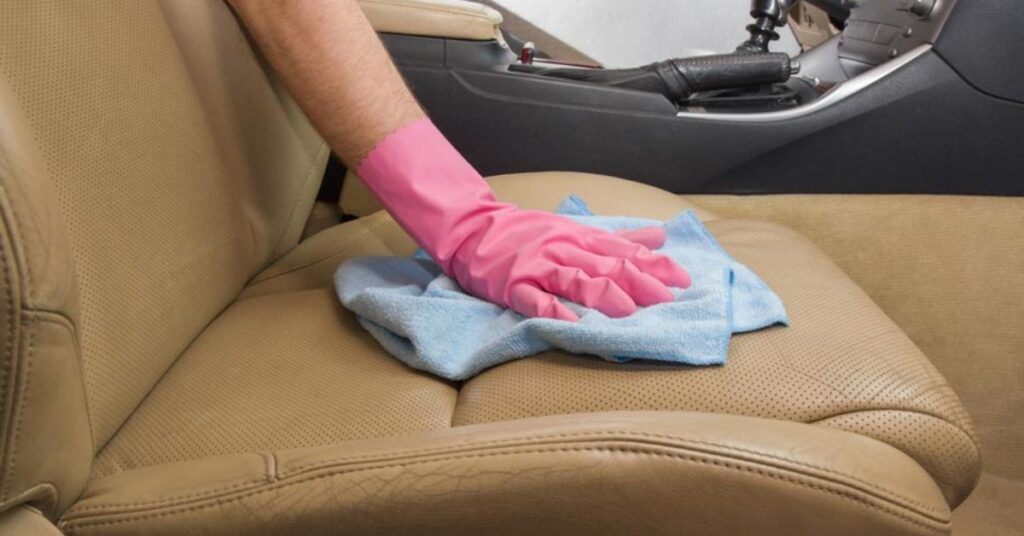
Your cleaning method should depend on the seat material.
Fabric Seats
Begin by vacuuming thoroughly.
Then inspect the seats for stains.
For small stains, use a suitable upholstery cleaner and follow the product instructions.
Do not saturate the seats with water or cleaning solution.
Too much moisture can penetrate the padding and take a long time to dry.
Work gently and use a clean cloth to lift loosened dirt.
Allow the seats to dry thoroughly with good ventilation.
Leather Seats
Leather requires more careful treatment.
Vacuum seams and crevices first.
Then use a cleaner designed specifically for automotive leather.
Apply a small amount to a microfiber cloth rather than flooding the seat.
Gently clean one section at a time.
If appropriate for your leather, follow with a suitable leather conditioner according to the manufacturer’s recommendations.
Avoid household products that can leave the surface greasy or damage the finish
| Stain Type | Solution |
| Coffee | Mild detergent |
| Grease | Baking soda |
| Ink | Rubbing alcohol |
| Food | Upholstery cleaner |
Always test the cleaner on a small, hidden area first.
Step 9: Clean Between the Seats
The gap between the seat and center console is a magnet for crumbs.
Use a vacuum crevice attachment to reach the narrow space.
Move the seats forward and backward to expose as much of the area as possible.
You can also use a soft detailing brush to loosen debris while vacuuming.
Take your time here.
Cleaning these hidden spaces can make a surprisingly large difference.
Step 10: Deep Clean Carpets
Carpets can hold a lot of dirt even when they look relatively clean.
Start with thorough vacuuming.
Then identify stains.
For a suitable carpet-safe cleaner:
- Test it on an inconspicuous area.
- Apply a small amount.
- Gently agitate the stain.
- Blot rather than aggressively rubbing.
- Remove residue according to the product directions.
- Allow the area to dry completely.
Avoid excessive water.
A damp carpet inside a closed vehicle can develop unpleasant odors if it does not dry properly.
Step 11: Don’t Forget the Door Panels
Door panels are often overlooked during quick cleaning sessions.
Wipe:
- Door handles
- Armrests
- Window controls
- Storage pockets
- Trim
- Lower door areas
The lower sections of doors can be particularly dirty because they are exposed to shoes, dust, and road grime.
Use separate cloths for dirtier areas and cleaner finishing areas when possible.
Step 12: Clean the Windows From the Inside
Clean windows make the interior feel dramatically brighter.
Use an automotive-safe glass cleaner and a clean microfiber cloth.
Spray the cleaner onto the cloth rather than directly onto the glass when working near electronics and dashboard components.
Clean:
- Windshield
- Side windows
- Rear window
- Mirror surfaces if appropriate
Use overlapping strokes and finish with a dry microfiber cloth.
A Helpful Trick
If you are struggling to see streaks, clean the inside of the glass in one direction and the outside in another. This can help you identify which side needs additional cleaning.
Step 13: Clean the Rearview and Side Mirrors
Clean mirrors carefully using an appropriate glass cleaner.
Avoid leaving residue around the edges.
A streak-free mirror improves visibility and gives the interior a more polished appearance.
Step 14: Deal With Bad Car Odors

Sometimes vacuuming and wiping surfaces are not enough.
Persistent odors may come from:
- Food spills
- Damp carpets
- Upholstery
- Pet accidents
- Old trash
- Mold or mildew
- Cabin air filter issues
- Spilled beverages
The first step is always to identify the source.
Simply covering an odor with fragrance does not remove the underlying problem.
If something spilled underneath a seat, for example, spraying air freshener will only temporarily disguise the smell.
Clean and dry the affected area properly.
Fresh Air Helps
After cleaning, allow the vehicle to ventilate when conditions and safety permit.
Good airflow can help remaining moisture evaporate.
Never leave a running vehicle unattended merely to ventilate it.
Step 15: Remove Pet Hair
Pet hair can be especially stubborn.
Start with vacuuming.
For hair embedded in fabric, a suitable rubber brush or pet-hair removal tool can help gather loose strands.
Work in small sections.
After loosening the hair, vacuum again.
Pay special attention to:
- Seat seams
- Carpet edges
- Cargo areas
- Under seats
- Door corners
If you regularly transport pets, using a washable protective seat or cargo cover can make future cleaning considerably easier.
Step 16: Clean the Trunk or Cargo Area
If you are deep cleaning the entire vehicle, do not stop at the passenger cabin.
Remove everything from the trunk.
Vacuum:
- Floor
- Side panels
- Corners
- Under removable covers
- Cargo mat
Inspect for spilled liquids, dirt, leaves, and forgotten items.
If your vehicle has a removable cargo liner, clean it separately according to its material.
Step 17: Clean Small Details
This is where a basic cleaning becomes a professional-looking detail.
Use a soft brush or microfiber cloth around:
- Seat belt buckles
- Window switches
- Dashboard seams
- Console edges
- Door handles
- Speaker grilles
- Vent surrounds
- Button edges
- Storage compartments
Use cotton swabs for tiny areas when appropriate.
However, avoid pushing dirt farther into electronic components.
How to Clean Sticky Residue Inside a Car
Sticky residue can come from spilled drinks, food, stickers, or melted items.
First, determine the surface.
Use an appropriate interior-safe cleaner and a microfiber cloth.
Work gradually rather than using aggressive chemicals.
For stubborn residue, repeat gentle cleaning instead of immediately using a harsh product.
Always test a cleaner on a hidden area before applying it broadly.
How to Clean a Car Interior Without Damaging It
One of the biggest mistakes people make is assuming that stronger chemicals produce better results.
They do not.
A professional-looking clean is about using the right product for the right surface.
Avoid:
- Excessive water
- Harsh abrasive cleaners
- Rough scrubbing pads
- Unapproved chemicals on leather
- Direct spraying into electronics
- Excessive shine products on dashboards
- Strong solvents without checking compatibility
When in doubt, consult your vehicle owner’s manual or the material manufacturer’s cleaning guidance.
Mistakes to Avoid When Deep Cleaning Your Car
Cleaning From Bottom to Top
If you clean the floor first and then dust the dashboard, debris will fall back onto the floor.
Better approach: Start high and work downward.
Using One Cloth for Everything
A cloth used on dirty door panels should not be your final glass-cleaning cloth.
Use separate microfiber cloths for different tasks.
Over-Wetting Upholstery
Too much moisture can penetrate deep into seats and carpets.
Use controlled amounts and provide adequate drying time.
Ignoring Hidden Areas
A car can look clean while still containing dirt underneath seats and inside storage compartments.
Spraying Cleaner Directly Onto Electronics
Spraying directly can allow liquid to enter buttons, screens, vents, or electrical components.
Spray onto the cloth when appropriate.
Masking Odors Instead of Removing Them
Air freshener does not solve the source of a bad smell.
Find the cause first.
How to Make Your Car Stay Clean Longer
Once you’ve invested the time in a deep clean, a few habits can help maintain the results.
Keep a Small Trash Bag
Use a small reusable or disposable trash bag for wrappers and receipts.
Remove Trash Every Time You Get Home
Do not allow garbage to accumulate overnight.
Keep Food Out of the Car When Possible
Food creates crumbs, stains, and odors.
Use Protective Mats
Good-quality floor mats help protect the original carpeting from dirt and moisture.
Clean Spills Immediately
Fresh spills are usually easier to deal with than old, dried stains.
Vacuum Regularly
Even a quick weekly vacuum can make your next deep clean much easier.
Keep a Few Microfiber Cloths in the Car
They are useful for dealing with fingerprints and small messes before they become bigger problems.
A Simple Car Interior Cleaning Checklist
If you like having a checklist, save this one for your next cleaning session.
Decluttering
- Remove trash
- Remove personal belongings
- Empty storage compartments
- Clear the trunk
Vacuuming
- Seats
- Seat seams
- Floors
- Carpets
- Under seats
- Door pockets
- Center console
- Trunk
Surface Cleaning
- Dashboard
- Steering wheel
- Center console
- Door panels
- Cup holders
- Handles
- Controls
- Vents
Upholstery
- Treat stains
- Clean fabric seats
- Clean leather appropriately
- Clean carpets
- Clean floor mats
Glass
- Windshield
- Side windows
- Rear window
- Mirrors
Finishing
- Remove remaining debris
- Check for odors
- Allow damp areas to dry
- Replace clean mats
- Return only necessary items
How Long Does a Deep Car Interior Cleaning Take?
The time depends on the vehicle’s size and condition.
A lightly used sedan might take a couple of hours for a thorough home cleaning.
A heavily soiled family vehicle, SUV, or car with pet hair and stains may take considerably longer.
Do not rush.
It is often better to divide the job into sections:
Session 1: Declutter and vacuum.
Session 2: Clean surfaces and seats.
Session 3: Treat carpets, windows, and finishing details.
Breaking the work into manageable sections can make the process less overwhelming.
When Should You Consider Professional Car Detailing?
DIY cleaning works well for routine maintenance and many deep-cleaning jobs.
However, professional detailing may be worthwhile when:
- Upholstery has severe staining
- There are persistent odors
- Mold or mildew is suspected
- The vehicle has extensive pet hair
- Water damage has occurred
- You are preparing a vehicle for sale
- You want specialized paint or interior treatment
- Interior materials require specialized equipment
Professional detailers may have extraction machines and specialized tools that are difficult to replicate at home.
FAQs
What is the best way to deep clean a car interior?
Start by removing all clutter, then vacuum thoroughly from top to bottom. Clean the dashboard, console, doors, seats, carpets, mats, vents, and glass using products appropriate for each material.
How often should I deep clean my car interior?
For many vehicles, a thorough cleaning every few months is a reasonable starting point. Cars with children, pets, frequent food consumption, or heavy daily use may need more frequent attention.
Can I use household cleaner inside my car?
Not necessarily. Some household cleaners may be too harsh for automotive materials. Always check that a product is suitable for the specific surface before using it.
How do I get rid of a bad smell in my car?
Find and remove the source first. Clean affected upholstery or carpeting and allow damp areas to dry completely. Persistent odors may require professional attention or inspection of hidden sources.
How can I clean fabric car seats?
Vacuum thoroughly, treat stains with a suitable upholstery cleaner, avoid oversaturating the fabric, and allow the seats to dry completely.
How do I clean leather car seats?
Use products specifically designed for automotive leather. Clean gently with a suitable microfiber cloth and follow with an appropriate conditioner when recommended for your particular leather finish.
How do I clean car vents?
Use a soft detailing brush to loosen dust while holding a vacuum nearby. Avoid forcing objects deep inside the vents.
How do I clean a car dashboard?
Remove dust first with a microfiber cloth or soft brush, then use an interior-safe cleaner suitable for the dashboard material. Avoid excessive moisture and overly glossy products.
How do I remove crumbs from between car seats?
Move the seats as far as safely possible and use a vacuum crevice attachment. A soft detailing brush can loosen stubborn debris while you vacuum.
Can I wash my car floor mats?
Many rubber mats can be washed according to their care instructions. Fabric mats should be cleaned using a method appropriate for their material. Always allow mats to dry completely before reinstalling them.
Final Thoughts
A truly clean car interior is about much more than appearance. When your seats are free from stains, your carpets are vacuumed, your dashboard is dust-free, your windows are streak-free, and the hidden crumbs are finally gone, the entire vehicle feels more comfortable.
The secret to deep cleaning your car interior like a pro is not having hundreds of products. It is having the right supplies, using the correct technique, and working systematically.
Start by removing clutter. Vacuum from top to bottom. Clean surfaces according to their materials. Pay attention to areas you normally overlook, such as seat rails, cup holders, vents, door pockets, and the spaces between seats.
Most importantly, do not rush the drying process. Excess moisture can create new problems, especially inside a closed vehicle.
Once your car is completely clean, maintain it with a few simple habits. Remove trash regularly, deal with spills quickly, vacuum often, and avoid allowing unnecessary clutter to build up.
A few minutes of maintenance each week can save you from another exhausting deep clean later.
And the next time you sit behind the wheel of your freshly cleaned car, you may notice something surprisingly simple: a clean interior can make an ordinary drive feel much better.







Leave a Reply