
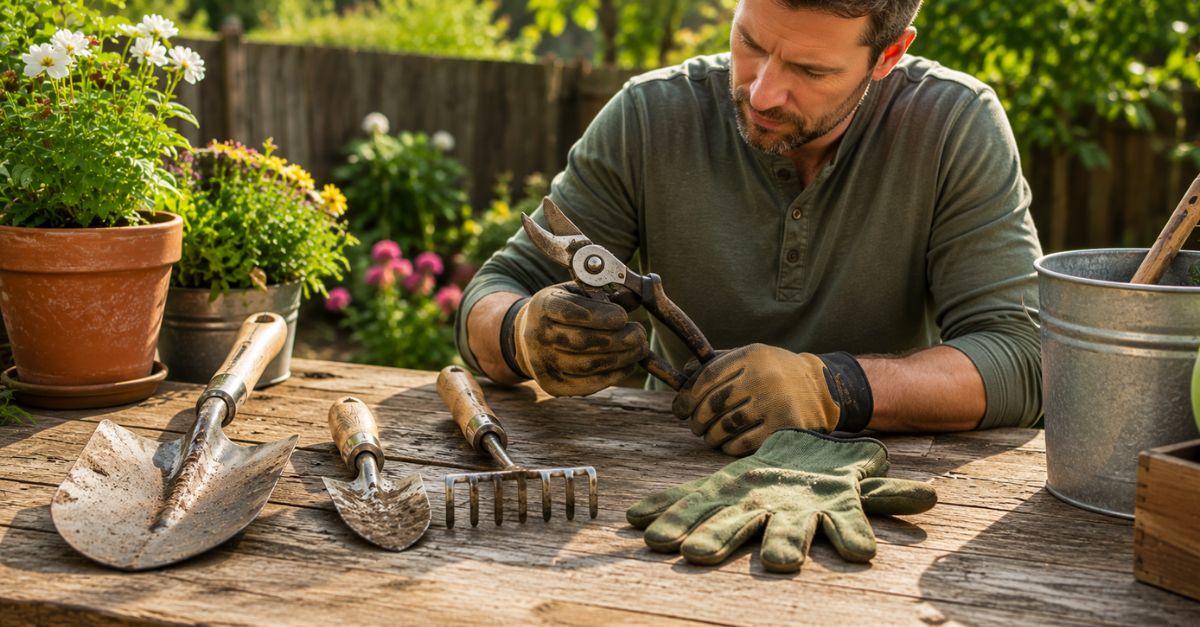
Garden tools are essential for maintaining a healthy, beautiful outdoor space. Whether you’re planting flowers, growing vegetables, trimming shrubs, or pulling weeds, your tools work hard throughout the year. Over time, however, they collect dirt, sap, plant residue, moisture, and harmful bacteria that can reduce their performance and even spread diseases from one plant to another. That’s why learning how to clean garden tools is one of the most important yet often overlooked parts of garden maintenance.
Many homeowners spend hundreds of dollars on quality gardening equipment but forget that regular cleaning is just as important as choosing the right tools. A dirty shovel can transfer soil-borne diseases, rusty pruning shears can damage healthy branches, and dull blades make gardening more difficult than it needs to be. Fortunately, keeping your tools in excellent condition doesn’t require expensive products or professional services. With a few simple supplies and the right cleaning techniques, you can extend the life of your equipment while helping your plants stay healthier.
If you’ve been searching for how to clean garden tools, you’ve probably found dozens of different methods online. Some recommend soaking tools in vinegar, while others suggest using bleach or commercial disinfectants. Although some of these methods can be effective in certain situations, not every cleaning solution is safe for every type of tool. This guide brings together practical housekeeping advice and professional gardening practices to help you clean, disinfect, and maintain your garden tools safely and effectively.
In this comprehensive guide, you’ll learn how to remove dirt, eliminate rust, disinfect tools after working with diseased plants, sharpen cutting edges, and store your equipment correctly to prevent future damage. We’ll also explain which natural cleaning methods are worth trying, when commercial products are the better choice, and which common mistakes could shorten the lifespan of your tools.
At TrueHousekeeping.com, we believe that proper cleaning isn’t just about making tools look better; it’s about protecting your investment and creating a healthier garden. By following the simple steps in this guide, you’ll keep your gardening equipment in top condition, improve its performance, and make every gardening task easier throughout the year.
Why Cleaning Garden Tools Matters
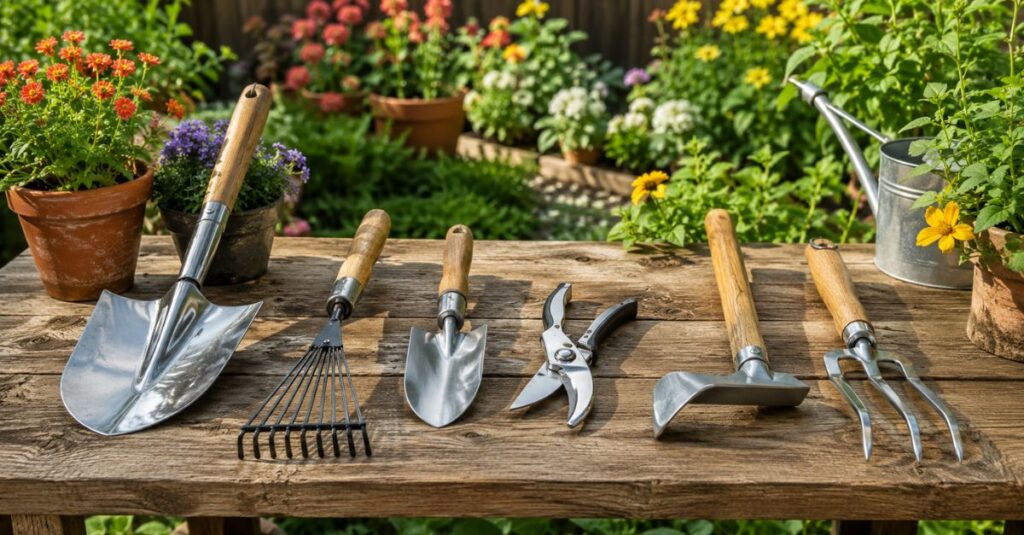
Many gardeners focus on watering, fertilizing, and pruning their plants but overlook the condition of the tools they use every day. In reality, dirty tools can affect the health of your garden just as much as poor soil or improper watering. Understanding how to clean garden tools is essential because clean equipment helps prevent plant diseases, improves efficiency, and extends the life of every tool in your collection.
Every time you dig into the soil or prune a branch, your tools come into contact with bacteria, fungi, moisture, and plant sap. If these materials remain on the surface, they can harden over time, making tools less effective and more difficult to use. Even worse, contaminated tools can transfer harmful pathogens from one plant to another without you realizing it. Cleaning them regularly helps break this cycle and supports a healthier garden.
Rust is another common problem caused by neglect. Moisture left on metal surfaces gradually leads to corrosion, weakening blades, shovels, trowels, and other equipment. A rusty tool requires more effort to use and may eventually become unsafe. Regular cleaning and proper drying remove moisture before it has a chance to cause damage, saving you money by extending the life of your gardening equipment.
Sharp, clean tools also make gardening easier and safer. Pruning shears with clean blades create smoother cuts that heal faster, reducing stress on plants. In contrast, dull or dirty blades crush stems instead of cutting them cleanly, increasing the risk of disease and slowing plant recovery. Whether you’re trimming roses, harvesting vegetables, or pruning fruit trees, properly maintained tools deliver better results with less effort.
Another benefit of regular cleaning is improved efficiency. Tools covered with dried mud or sticky sap become heavier and more difficult to handle. A few minutes spent cleaning after each gardening session helps keep your equipment ready for the next project while reducing the amount of deep cleaning needed later.
For homeowners who enjoy growing vegetables, herbs, or fruit, clean tools are especially important. Garden diseases such as bacterial wilt, blight, and fungal infections can spread quickly through contaminated equipment. Taking the time to clean and disinfect your tools between tasks is a simple habit that can protect an entire garden from unnecessary problems.
💡 Did You Know?
A single pair of dirty pruning shears can spread plant diseases to multiple healthy plants in just one gardening session. Cleaning and disinfecting cutting tools after working with infected plants is one of the easiest ways to reduce the risk of disease spreading throughout your garden.
Supplies You’ll Need
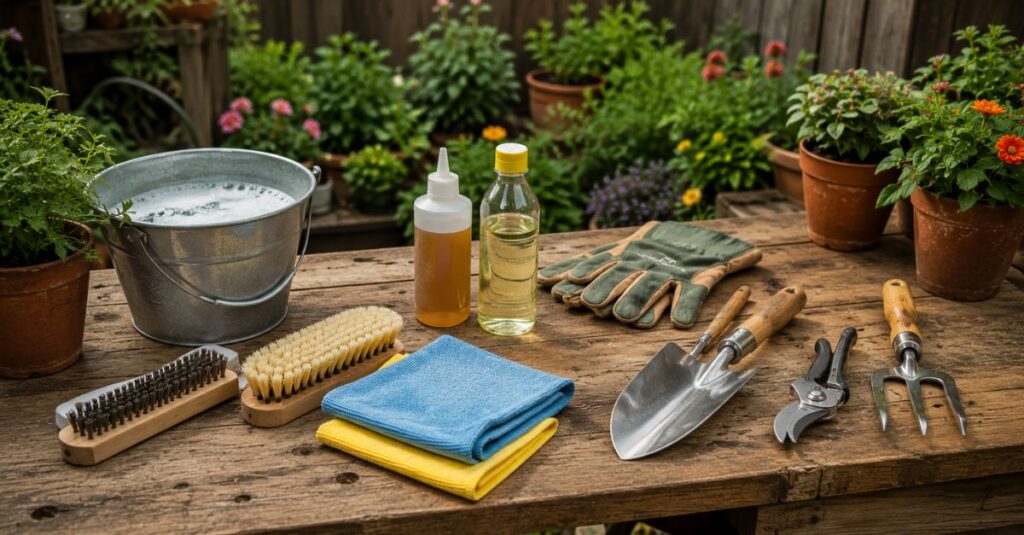
Before you begin cleaning, it’s helpful to gather all the necessary supplies in one place. Having the right tools on hand makes the process faster, safer, and more effective. Fortunately, most of the items you’ll need are inexpensive and may already be available in your garage, workshop, or cleaning cabinet.
One of the most important items is a stiff-bristle brush or wire brush. These brushes help remove dried mud, caked-on soil, and rust from metal surfaces without requiring excessive force. A plastic brush works well for routine cleaning, while a wire brush is better suited for removing stubborn rust and hardened debris. If you’re cleaning delicate hand tools, use a softer brush to avoid scratching protective coatings.
A bucket of warm water mixed with a small amount of mild dish soap is ideal for washing away dirt, plant sap, and grease. Mild soap is effective enough to clean most garden tools without damaging metal or wooden handles. For stubborn buildup, you may also want a non-abrasive scrubbing pad or an old toothbrush to reach small crevices around hinges and cutting blades.
After washing, it’s essential to dry every tool thoroughly with a clean towel or microfiber cloth. Leaving moisture on metal surfaces is one of the main causes of rust, so never skip this step. If possible, allow tools to air dry completely before storing them in your garage or shed.
To protect your tools after cleaning, keep a bottle of light machine oil, linseed oil, or a specialized tool lubricant nearby. Applying a thin coat to metal parts helps prevent rust, while treating wooden handles with linseed oil reduces drying and cracking over time. This simple maintenance step can significantly extend the lifespan of your equipment.
If you plan to disinfect tools after pruning diseased plants, you’ll also need a suitable disinfectant approved for garden equipment. Depending on the situation, this may include rubbing alcohol, a commercial disinfectant, or another product recommended by the tool manufacturer. Always read product labels carefully and follow safety instructions during use.
Quick Cleaning Checklist
Before getting started, gather these essential supplies:
- ✔ Stiff-bristle brush or wire brush
- ✔ Bucket of warm water
- ✔ Mild dish soap
- ✔ Microfiber cloths or clean towels
- ✔ Old toothbrush for small areas
- ✔ Light machine oil or tool lubricant
- ✔ Linseed oil for wooden handles
- ✔ Protective work gloves
- ✔ Safety glasses (when removing rust)
- ✔ Approved disinfectant for garden tools
Using quality supplies not only makes cleaning easier but also helps prevent accidental damage to valuable gardening equipment.
⚠️ Warning
Never leave metal garden tools soaking in water overnight. Extended exposure to moisture can accelerate rust formation, weaken metal components, and shorten the life of your tools. Wash them promptly, dry them thoroughly, and apply a light protective oil before storage whenever possible.
Before You Start: Important Safety Tips
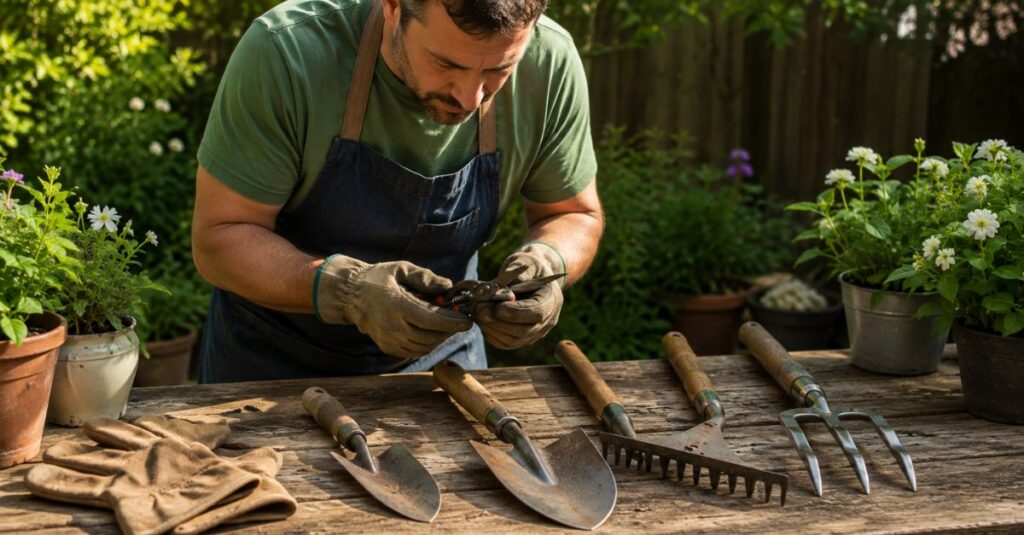
Before you begin cleaning, take a few minutes to prepare your workspace and inspect your tools. This simple step can make the entire process safer and more efficient. Whether you’re cleaning a hand trowel after planting flowers or disinfecting pruning shears used on diseased branches, proper preparation helps protect both you and your equipment. If you’re learning how to clean garden tools for the first time, these safety tips will help you avoid common mistakes while getting the best results.
Start by choosing a well-ventilated work area, such as a garage, driveway, patio, or outdoor workbench. Cleaning tools often involves removing dirt, rust, and plant residue, so it’s best to work in a space where water and debris can be cleaned up easily. Lay down an old towel or plastic sheet if you’re working on a finished surface to catch loose soil and prevent stains.
Before washing your tools, inspect each one carefully. Look for loose screws, cracked wooden handles, bent metal parts, chipped blades, or signs of excessive rust. Cleaning won’t repair structural damage, so any tool with serious defects should be repaired or replaced before it’s used again. Continuing to use damaged equipment can increase the risk of injury and make gardening more difficult.
Wearing the right protective gear is another important step. Thick work gloves help protect your hands from sharp blades, rough metal edges, and cleaning products, while safety glasses are recommended if you’re using a wire brush to remove rust. Tiny metal particles and rust flakes can become airborne during scrubbing, so protecting your eyes is always a smart precaution.
If you’re planning to disinfect tools after working with diseased plants, carefully read the instructions on the disinfectant before use. Different products require different contact times to kill bacteria, fungi, or viruses effectively. Never mix cleaning chemicals together, as some combinations can create dangerous fumes or reduce the effectiveness of the disinfectant.
Finally, organize your tools before you begin cleaning. Group similar items together, such as digging tools, cutting tools, and watering equipment. Cleaning them in batches saves time and allows you to follow the same process for each type of tool without constantly switching supplies.
⭐ Pro Tip
Professional gardeners clean their tools immediately after each gardening session instead of waiting until dirt hardens. Fresh soil, sap, and plant residue are much easier to remove than dried buildup, which means less scrubbing and less wear on your tools.
Step-by-Step Guide: How to Clean Garden Tools
Now that your tools are ready, it’s time to begin the cleaning process. Knowing how to clean garden tools properly is about more than removing visible dirt. A thorough cleaning also helps prevent rust, reduces the spread of plant diseases, and keeps your equipment working efficiently season after season.
By following these seven simple steps, you’ll restore your tools without damaging metal blades, wooden handles, or protective coatings.
Step 1: Remove Loose Dirt and Debris
The first step is removing loose soil, dried mud, grass clippings, leaves, and plant residue. Cleaning tools while dirt is still fresh is much easier than waiting until it hardens.
Use a stiff-bristle brush to scrub away loose dirt from the entire tool. Pay close attention to corners, joints, bolts, and the underside of blades where soil often collects. If the dirt is dry and difficult to remove, lightly tap the tool against the ground before brushing it clean.
For digging tools such as shovels, hoes, garden forks, and trowels, a wire brush can help remove stubborn soil without damaging the metal. However, avoid using excessive force, especially on tools with protective coatings.
Taking the time to remove loose debris first prevents muddy water from spreading dirt during the washing process and makes the remaining cleaning steps much more effective.
Step 2: Wash the Tools with Warm Soapy Water
Once the loose dirt has been removed, wash the tools using warm water mixed with a few drops of mild dish soap. This solution helps dissolve grease, plant sap, and remaining soil without damaging the metal or wooden handles.
Dip a sponge or microfiber cloth into the soapy water and wipe each tool thoroughly. For tools with moving parts, such as pruning shears and loppers, use an old toothbrush to clean around hinges, springs, and tight spaces where dirt often hides.
If stubborn sap remains on the blades, allow the soapy water to sit on the surface for a few minutes before gently scrubbing again. Patience is much more effective than aggressive scrubbing, which can scratch the tool’s finish.
Avoid soaking tools for long periods. Extended exposure to water can encourage rust formation and weaken wooden handles over time.
Step 3: Remove Rust and Stubborn Buildup
Even well-maintained tools can develop rust over time, especially if they’re stored in damp conditions. Fortunately, light rust can usually be removed with a little effort.
Begin by scrubbing rusty areas with a wire brush or fine steel wool. Work gently until the loose rust disappears. For heavier corrosion, apply a rust remover designed for garden tools and follow the manufacturer’s instructions carefully.
If you prefer a natural approach, soaking only the rusty metal portion in white vinegar for a short period may help loosen corrosion. However, avoid soaking wooden handles, and always rinse and dry the tool thoroughly afterward.
Removing rust not only improves the appearance of your tools but also helps restore their performance and extends their lifespan.
💡 Did You Know?
A thin layer of rust may seem harmless, but it can spread surprisingly quickly if moisture remains on the tool. Drying and oiling metal surfaces after cleaning is one of the easiest ways to prevent future rust.
Step 4: Disinfect the Tools
Cleaning removes dirt, but disinfecting helps eliminate harmful bacteria, fungi, and viruses that can spread between plants.
This step is especially important if you’ve recently pruned diseased plants or worked in soil affected by fungal infections.
Apply an approved disinfectant to the blades or metal surfaces according to the product instructions. Make sure the disinfectant remains on the surface for the recommended contact time before wiping it away.
If you’re cleaning multiple cutting tools, disinfect each one before moving to another plant to reduce the risk of cross-contamination.
⚠️ Warning
Never mix bleach, ammonia, or other household chemicals while disinfecting garden tools. Dangerous fumes can form, creating serious health risks. Always use products exactly as directed by the manufacturer and work in a well-ventilated area.
Step 5: Dry the Tools Thoroughly
After washing and disinfecting your equipment, drying every tool completely is one of the most important steps in how to clean garden tools. Even a small amount of moisture left on metal surfaces can lead to rust, especially if the tools are stored in a humid garage or garden shed. Many gardeners spend time cleaning their tools but accidentally undo their hard work by putting them away while they’re still damp.
Use a clean microfiber cloth or an absorbent towel to wipe each tool thoroughly. Pay special attention to joints, hinges, bolts, and springs, where water often collects. These hidden areas take longer to dry and are usually the first places where rust begins to form. Once you’ve towel-dried the tools, place them in a well-ventilated area for a few minutes to allow any remaining moisture to evaporate naturally.
Wooden handles deserve special attention as well. Moisture can seep into untreated wood, causing it to swell, crack, or become rough over time. Make sure the handles are completely dry before applying any protective oil or returning the tools to storage.
Proper drying may only take a few extra minutes, but it significantly extends the lifespan of your gardening equipment and reduces the amount of maintenance required in the future.
Step 6: Protect the Metal and Wooden Handles
Once your tools are completely dry, it’s time to protect them from future wear. Cleaning removes dirt and moisture, but adding a protective coating helps prevent rust, corrosion, and damage caused by regular use. This maintenance step is simple, inexpensive, and can add years to the life of your tools.
Apply a small amount of light machine oil, tool lubricant, or another rust-prevention product to the metal parts using a clean cloth. Spread a thin, even layer across the surface, paying extra attention to cutting blades, hinges, and springs. Avoid using excessive amounts of oil, as it can attract dust and dirt during storage.
Wooden handles also benefit from regular care. Applying a light coat of boiled linseed oil helps nourish the wood, reducing the risk of drying, splintering, or cracking. Pour a small amount onto a soft cloth and rub it evenly into the handle. Allow the oil to absorb before wiping away any excess.
This simple maintenance routine not only keeps your tools looking newer but also makes them more comfortable to use throughout the gardening season.
⭐ Pro Tip
Professional gardeners often wipe metal tool heads with a lightly oiled cloth after every cleaning session instead of waiting for rust to appear. Preventive maintenance takes only a minute and is much easier than removing heavy rust later.
Step 7: Store Your Garden Tools Properly
Even perfectly cleaned tools can develop rust or become damaged if they aren’t stored correctly. Proper storage is the final step in how to clean garden tools, helping preserve all the work you’ve put into cleaning and maintaining your equipment.
Whenever possible, store your tools indoors in a dry garage, shed, or storage room where they’re protected from rain, humidity, and direct sunlight. Hang long-handled tools such as rakes, hoes, and shovels on sturdy wall hooks instead of leaning them against a wall. Hanging tools keeps the blades off the ground, prevents accidental damage, and makes them easier to organize.
Small hand tools can be stored in a toolbox, drawer, or hanging organizer where they’re protected from moisture and easy to find when needed. Avoid leaving tools outside overnight or placing them directly on damp concrete floors, as both situations encourage rust.
For extra protection, some gardeners keep a bucket filled with clean sand mixed with a small amount of light oil. Inserting metal tools into the sand after each use helps remove small amounts of dirt while leaving a thin protective coating on the metal surface.
By storing your tools correctly, you’ll spend less time cleaning them in the future and more time enjoying your garden.
Best Natural Cleaning Methods
If you prefer eco-friendly cleaning products, there are several natural methods that can help keep your tools clean without relying on harsh chemicals. While these methods work well for routine maintenance, it’s important to remember that natural cleaners should still be used correctly to avoid damaging your equipment.
One of the most reliable homemade cleaners is warm water mixed with a few drops of mild dish soap. This simple solution removes soil, grease, and plant residue from most garden tools without affecting metal or wooden surfaces. It’s ideal for regular cleaning after everyday gardening tasks.
For light rust, white vinegar is another popular option. The mild acidity helps loosen surface corrosion, making it easier to remove with a wire brush. However, tools should never be left soaking for extended periods, and wooden handles should be kept out of the vinegar to prevent damage. Once the rust has been removed, rinse the metal thoroughly, dry it completely, and apply a protective oil.
Baking soda can also be useful for stubborn stains or sticky sap. Mix baking soda with a small amount of water to create a thick paste, apply it to the affected area, and gently scrub with a soft brush. Rinse the tool afterward and dry it immediately.
Although natural cleaning methods are effective for routine maintenance, they aren’t always the best choice for severe rust or disinfecting tools after working with diseased plants. In those situations, commercial products specifically designed for garden equipment often provide better results.
Natural Cleaning Methods Comparison
| Cleaning Method | Best For | Safe for Most Garden Tools |
| Warm water and mild dish soap | Everyday cleaning | ✅ Yes |
| White vinegar | Light rust removal | ✅ Yes (short use only) |
| Baking soda paste | Sticky sap and stains | ✅ Yes |
| Lemon juice | Light surface stains | ⚠️ Limited use |
| Commercial rust remover | Heavy rust | ✅ Best choice |
💡 Did You Know?
Cleaning tools after every gardening session usually takes less than five minutes. That small investment of time can help prevent rust, improve cutting performance, and significantly extend the life of your equipment.
Best Commercial Cleaners for Garden Tools
While natural cleaning methods work well for routine maintenance, there are times when commercial products provide faster and more reliable results. If your tools have heavy rust, stubborn sap, grease buildup, or have been used on diseased plants, using a product specifically designed for garden equipment can save time and help restore your tools more effectively. If you’re serious about learning how to clean garden tools like a professional, keeping a few quality maintenance products in your workshop is a smart investment.
When shopping for commercial cleaners, choose products that are intended for metal tools and gardening equipment. A quality cleaner should remove dirt and rust without damaging the metal or protective coatings. Some products also leave behind a thin protective layer that helps reduce future corrosion. Always read the manufacturer’s instructions carefully before use and wear gloves if recommended on the label.
If you’re cleaning pruning shears, loppers, hedge trimmers, or other cutting tools after working with diseased plants, use a disinfectant approved for gardening equipment. Following the correct contact time listed on the label is important because simply wiping the blades may not eliminate harmful bacteria or fungi. Once the tools are clean and disinfected, dry them thoroughly and apply a light coat of protective oil before storing them.
Commercial lubricants are also valuable for keeping moving parts in good condition. Hinges, springs, and pivot points on pruning tools should move smoothly without sticking. Applying a small amount of lubricant after cleaning helps reduce friction, prevent rust, and make cutting easier.
DIY Cleaning vs. Commercial Products
| Feature | DIY Soap Solution | Commercial Cleaner |
| Everyday dirt | ⭐⭐⭐⭐⭐ | ⭐⭐⭐⭐⭐ |
| Sticky plant sap | ⭐⭐⭐ | ⭐⭐⭐⭐⭐ |
| Heavy rust | ⭐⭐ | ⭐⭐⭐⭐⭐ |
| Disinfecting tools | ⭐⭐ | ⭐⭐⭐⭐⭐ |
| Long-term protection | ⭐⭐⭐ | ⭐⭐⭐⭐⭐ |
Although commercial products can be very effective, they’re not a replacement for regular maintenance. Cleaning tools after every gardening session remains the best way to prevent dirt, rust, and disease from building up in the first place.
Common Mistakes to Avoid
Even experienced gardeners can make mistakes that shorten the lifespan of their tools. Knowing how to clean garden tools correctly also means understanding what not to do. Avoiding these common errors will keep your equipment in better condition and help prevent unnecessary repairs or replacements.
One of the biggest mistakes is putting tools away while they’re still wet. Moisture trapped on metal surfaces quickly leads to rust, especially in humid sheds or garages. Always dry your tools thoroughly before storing them.
Another common mistake is leaving tools covered in soil after gardening. Dirt holds moisture against the metal, encouraging corrosion and making the next cleaning session much more difficult. Brushing off loose soil immediately after use saves time and protects the tool.
Many homeowners also forget to disinfect cutting tools after pruning diseased plants. This oversight can spread bacteria, fungi, or viruses throughout the garden. If you’ve worked on an infected plant, disinfect your pruning shears before moving to another plant.
Using the wrong cleaning products is another issue. Strong household chemicals, abrasive cleaners, or steel brushes on delicate coatings may damage the tool instead of helping it. Stick to products recommended for garden equipment whenever possible.
Finally, many people overlook wooden handles. Ignoring them can lead to drying, splintering, and cracking over time. Applying linseed oil once or twice a year helps keep wooden handles comfortable to use and extends their lifespan.
⚠️ Warning
Never store garden tools outdoors or directly on damp concrete floors. Constant exposure to rain, humidity, and moisture greatly increases the risk of rust, corrosion, and handle damage. Store tools in a dry, covered location whenever possible.
Professional Maintenance Tips
Cleaning your tools is only part of keeping them in excellent condition. Professional gardeners know that regular maintenance improves performance, extends tool life, and makes every gardening task easier. By adding a few simple habits to your routine, you’ll spend less time repairing equipment and more time enjoying your garden.
Make it a habit to clean tools immediately after each use instead of waiting until dirt hardens. Fresh soil and plant sap come off much more easily, reducing the need for heavy scrubbing later. Sharpen cutting tools regularly so they make clean cuts that heal quickly and reduce stress on plants.
Inspect your tools every few weeks for loose screws, cracked handles, or signs of rust. Addressing small issues early often prevents more expensive repairs in the future. Keep a small maintenance kit in your shed with a wire brush, microfiber cloth, tool oil, sharpening stone, and work gloves so everything you need is always within reach.
At TrueHousekeeping.com, we recommend creating a simple monthly maintenance routine. Spending just fifteen to twenty minutes checking, cleaning, and protecting your gardening equipment can add years to its lifespan while improving safety and performance.
How Often Should You Clean Garden Tools?
The ideal cleaning schedule depends on how frequently you garden and what type of work you’re doing. However, developing a consistent routine is one of the easiest ways to protect your equipment and reduce long-term maintenance.
Recommended Cleaning Schedule
| Task | Frequency |
| Brush off loose dirt | After every use |
| Wash with mild soap and water | Weekly or as needed |
| Disinfect cutting tools | After pruning diseased plants |
| Remove rust | As soon as it appears |
| Sharpen cutting tools | Every 2–3 months |
| Oil metal parts | Monthly |
| Treat wooden handles with linseed oil | Every 6–12 months |
Following this schedule keeps your tools clean, safe, and ready whenever gardening season begins.
FAQs
Can I wash garden tools with dish soap?
Yes. Mild dish soap mixed with warm water is one of the safest and most effective ways to remove dirt, mud, and plant residue from most garden tools.
What’s the fastest way to remove rust from garden tools?
Light rust can often be removed using a wire brush or fine steel wool. For heavier rust, use a commercial rust remover designed for garden equipment and follow the manufacturer’s instructions.
Should I disinfect pruning shears after every use?
Routine pruning usually doesn’t require disinfecting after every cut. However, if you’ve pruned diseased plants, disinfect the blades before using them on healthy plants to reduce the risk of spreading infections.
Can I leave garden tools outside?
No. Leaving tools outdoors exposes them to rain, humidity, and temperature changes that increase the risk of rust and handle damage. Store them in a dry, covered location whenever possible.
How often should I oil my garden tools?
A light coat of protective oil applied once a month—or after each deep cleaning helps prevent rust and keeps moving parts operating smoothly.
Is it safe to use vinegar on garden tools?
Yes, vinegar can help loosen light rust on metal surfaces. However, avoid soaking wooden handles and always rinse, dry, and oil the tools afterward.
Conclusion
Learning how to clean garden tools is one of the simplest ways to protect your gardening investment and improve the health of your plants. Clean tools work more efficiently, make gardening easier, and reduce the risk of spreading harmful plant diseases. They also last much longer, saving you money on replacements over time.
The best approach is to clean your tools regularly instead of waiting until dirt and rust become difficult to remove. Brush away soil after each use, wash with mild soapy water when needed, dry every tool thoroughly, and apply a light protective oil before storing it in a dry location. These small habits take only a few minutes but make a significant difference in the performance and lifespan of your equipment.
Remember that every garden is different. If your tools have severe rust, broken handles, or damaged blades, repairing or replacing them may be a safer option than continuing to use them. Likewise, always follow the manufacturer’s care instructions for specialty tools or power equipment.
At TrueHousekeeping.com, we believe that proper maintenance is the foundation of successful housekeeping and gardening. By following the practical tips in this guide, you can keep your garden tools clean, sharp, and ready for every season while creating a healthier, more productive outdoor space.






Leave a Reply