Keeping your car interior spotless isn’t just about looks—it’s about comfort, hygiene, and preserving your vehicle’s value. Over time, dust, dirt, food crumbs, stains, and odors build up, turning your car into a less enjoyable space. The good news? You don’t need to spend a fortune on professional detailing. With the right tools and techniques, you can deep clean your car interior like a pro right at home.
In this complete guide, you’ll learn step-by-step how to transform your car’s interior from messy to immaculate.
Why Deep Cleaning Your Car Interior Matters
Before diving into the process, let’s understand why deep cleaning is essential:
- Improves air quality inside your car
- Removes bacteria and allergens
- Enhances driving comfort
- Maintains resale value
- Eliminates unpleasant odors
Regular cleaning (every 1–2 weeks) and deep cleaning (every 2–3 months) can make a huge difference.
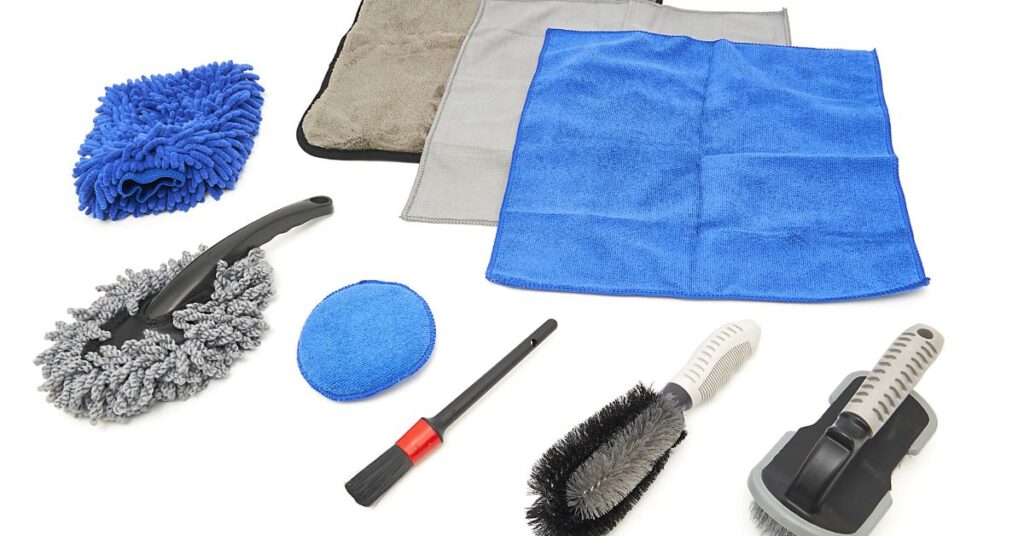
Tools & Supplies You’ll Need
To clean like a professional, gather these essentials:
Basic Cleaning Tools
- Vacuum cleaner (with attachments)
- Microfiber cloths
- Soft-bristle brushes
- Toothbrush (for tight spaces)
Cleaning Products
- All-purpose cleaner
- Glass cleaner
- Upholstery cleaner
- Leather conditioner (if applicable)
- Carpet shampoo
Optional Tools (For Pro Results)
- Steam cleaner
- Compressed air can
- Drill brush attachment
Step 1: Remove Trash and Personal Items
Start by clearing out everything from your car:
- Empty bottles, wrappers, and trash
- Floor mats
- Personal belongings
This gives you full access to every surface and makes cleaning easier.
Step 2: Vacuum Thoroughly
Vacuuming is the foundation of a deep clean.
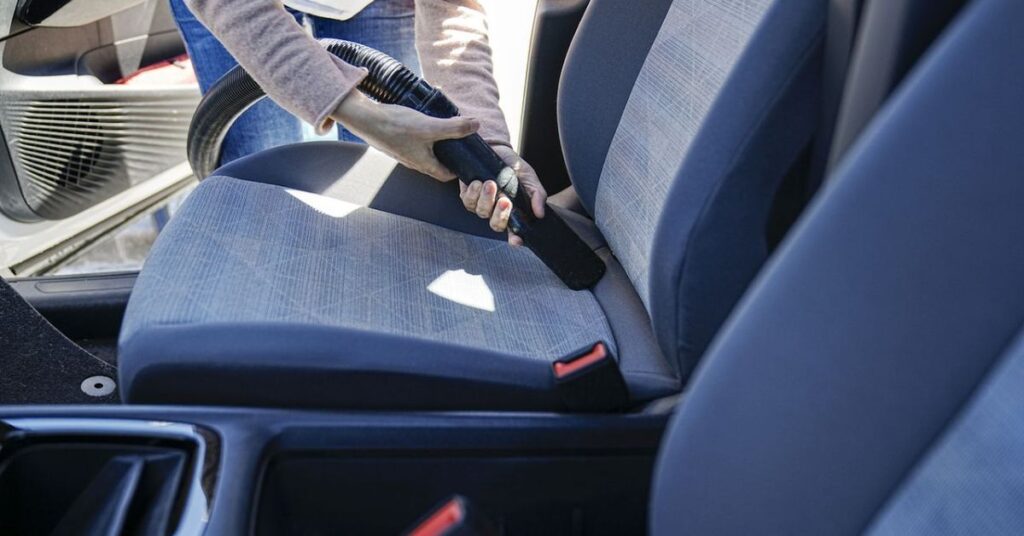
How to Do It Right:
- Start from top (seats) → move to bottom (floors)
- Use crevice tools for tight spots
- Slide seats forward and backward to reach hidden areas
Areas to Focus On:
- Under seats
- Between seat gaps
- Carpets and floor mats
- Trunk area
Tip: Use a brush attachment to loosen stubborn dirt before vacuuming.
Step 3: Clean Floor Mats
Floor mats collect the most dirt.
For Rubber Mats:
- Rinse with water
- Scrub with soap and brush
- Air dry completely
For Fabric Mats:
- Vacuum first
- Apply carpet cleaner
- Scrub and rinse lightly
- Let dry in sunlight
Step 4: Clean Windows and Mirrors
Crystal-clear windows improve visibility and aesthetics.
Steps:
- Spray glass cleaner on microfiber cloth
- Wipe in circular motion
- Use dry cloth to avoid streaks
Don’t forget:
- Inside windshield
- Rearview mirror
- Side mirrors
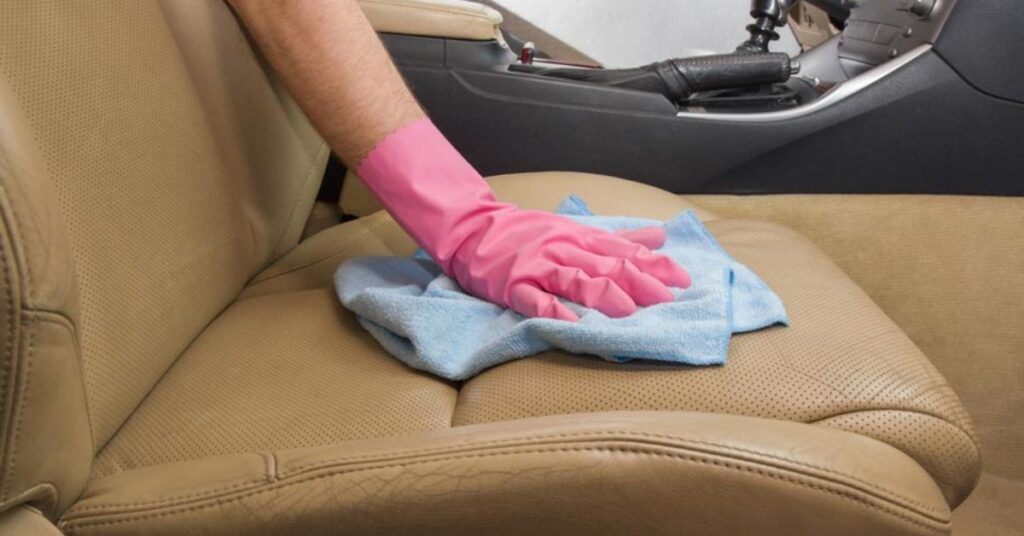
Step 5: Deep Clean Seats
Fabric Seats
- Vacuum thoroughly
- Spray upholstery cleaner
- Scrub gently with brush
- Wipe with damp cloth
Leather Seats
- Use leather cleaner
- Wipe gently
- Apply conditioner to prevent cracks
Avoid soaking seats—it can cause mold or bad odor.
Step 6: Clean Dashboard & Console
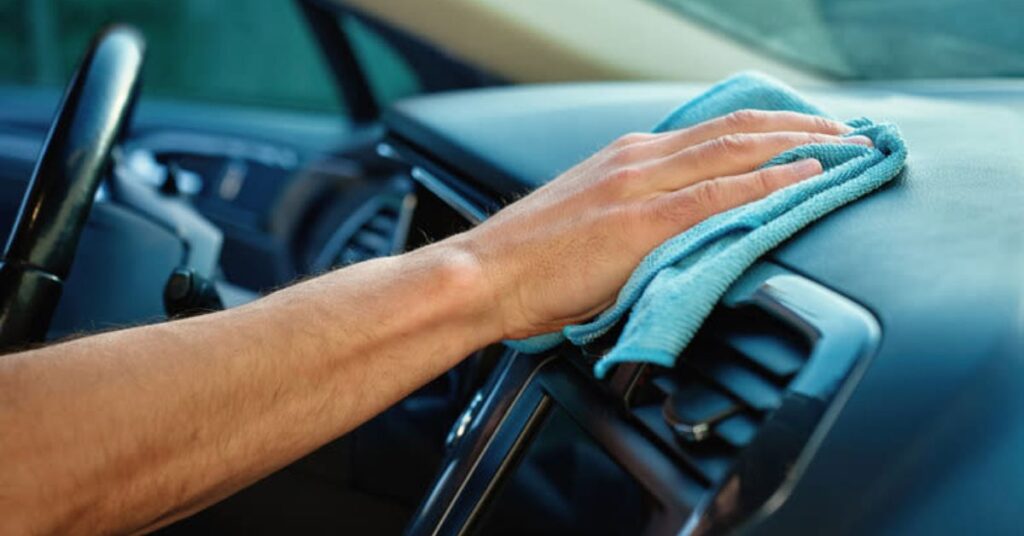
Your dashboard collects dust and fingerprints.
How to Clean:
- Use microfiber cloth
- Apply interior cleaner
- Clean buttons and knobs carefully
Use a soft brush or toothbrush for:
- Air vents
- Small gaps
- Cup holders
Step 7: Clean Air Vents
Air vents spread dust throughout the car.
Method:
- Use a soft brush or foam paintbrush
- Blow out dust with compressed air
- Wipe with damp cloth
Step 8: Remove Stubborn Stains
Different stains require different solutions:
| Stain Type | Solution |
| Coffee | Mild detergent |
| Grease | Baking soda |
| Ink | Rubbing alcohol |
| Food | Upholstery cleaner |
Always test cleaner on a small hidden area first.
Step 9: Eliminate Odors
Bad smells can ruin your driving experience.
Effective Methods:
- Sprinkle baking soda on seats/carpet → vacuum after 15 minutes
- Use charcoal bags for odor absorption
- Place car air freshener
For strong odors, use a steam cleaner or ozone treatment.
Step 10: Clean Door Panels & Handles
These areas are often overlooked.
- Wipe with all-purpose cleaner
- Clean handles (high-touch area)
- Polish plastic surfaces
Step 11: Clean Steering Wheel
Your steering wheel carries the most bacteria.
- Use disinfectant wipes
- Clean thoroughly but gently
- Dry immediately
Step 12: Don’t Forget the Trunk
The trunk can collect dirt and smells.
- Remove items
- Vacuum thoroughly
- Clean carpet or liner
Step 13: Use a Steam Cleaner (Optional Pro Step)
Steam cleaning is what professionals use.
Benefits:
- Kills bacteria
- Removes deep stains
- Eliminates odors
Perfect for:
- Seats
- Carpets
- Hard-to-clean areas
Step 14: Final Touches

After cleaning, add finishing touches:
- Apply dashboard polish
- Add air freshener
- Organize interior
How Often Should You Deep Clean?
| Task | Frequency |
| Vacuum | Weekly |
| Wipe surfaces | Weekly |
| Deep clean | Every 2–3 months |
| Steam clean | Every 6 months |
Common Mistakes to Avoid
- Using too much water
- Skipping vacuuming first
- Using harsh chemicals
- Forgetting hidden areas
- Not drying properly
Pro Tips for Long-Lasting Cleanliness
- Keep a small trash bag in your car
- Use seat covers
- Avoid eating inside
- Clean spills immediately
- Keep wipes in glove box
Benefits of a Clean Car Interior
- Better mood while driving
- Healthier environment
- Higher resale value
- More professional appearance
FAQs
How long does deep cleaning take?
It usually takes 2–4 hours, depending on the car’s condition.
Can I deep clean without professional tools?
Yes! Basic tools like a vacuum and microfiber cloth work well.
Is steam cleaning necessary?
Not required, but it gives professional-level results.
How do I remove pet hair?
Use:
- Rubber gloves
- Lint roller
- Vacuum with brush attachment
Conclusion
Deep cleaning your car interior like a pro doesn’t require expensive services—just the right approach and consistency. By following these step-by-step methods, you can keep your car looking, smelling, and feeling brand new.
A clean car isn’t just about aesthetics—it’s about creating a comfortable and healthy space for every drive.